Most Starlink Mini 12V builds fail for one reason, and it isn’t the dish.
You’re the one I’m writing this for. You’ve built the van twice. You’ve watched a “12V compatible” gadget brown out at 2am. You’ve bought the cheap boost converter that cooked itself in a Nevada parking lot. You hear “satellite internet, off-grid, low power” and your hand is already on the back button.
Good. Stay skeptical. Because the loudest people selling Starlink Mini 12V setups are getting one critical detail wrong — and that detail is exactly why you got burned.
I’ve wired this setup in three rigs now, including my own. The builds that hold and the builds that die at 2am are separated by a single $40 part. Let me show you the version that actually holds up.
Table of Contents
Can you run Starlink Mini on 12V directly?
Yes, but not by wiring it straight to a 12V battery. The Starlink Mini needs at least 12.5 volts at its connector, and a real 12V bank often sits below that under load. Add a regulated DC-DC boost converter that feeds the dish a steady 24-30V, and the reboots stop.
That’s the dirty secret under half the YouTube builds. The Mini wants 12.5 volts or better at the plug that goes into the dish. Drop under that line and it reboots or shuts down — which is exactly why purpose-built 12V-to-30V boosters exist at all. (bcf)
Here’s the part that catches people. Your “12V” battery is not 12V. A lead-acid bank at 50% sits near 12.1V. A lithium pack sags under load. Add thin wire and a long run, and the dish sees 11.8V. Then you lose your video call. Then you blame Starlink.
So when a hostile reader says “12V Starlink doesn’t work,” they’re often right about their setup and wrong about the technology. Those are different claims. Now let’s talk about why the technology deserves a second look.
Running Starlink Mini without an inverter saves real power
Most people power the Mini the lazy way. Battery to inverter to AC brick to dish. That path burns power twice.
The inverter turns DC into AC and loses 10-15% doing it. The wall brick then turns that AC straight back into DC. You pay the tax twice and end up exactly where you started.
It gets worse. Most inverters idle at 5-15 watts while doing nothing at all. Leave one running overnight and it can burn more energy than the dish does.
Native DC skips both steps. One conversion. One point of failure. No humming box under your bed.
That’s the whole argument in one sentence: the Mini was built to eat DC, so stop feeding it a detour. If you’re wiring the rest of the rig’s internet stack as well, our connectivity hub for RVs and trucks covers the router, antenna and failover side. This page covers the power path.
Starlink Mini power consumption: the real 25-40 watt math
This is where the Mini separates itself from every satellite product that disappointed you before.
Starlink rates the Mini at 25-40 watts average. Support guidance lists 20-40W average with idle around 15W, and a peak near 60W when snow melt kicks in. The Mobile Internet Resource Center’s testing of Starlink on 12V DC power lands in the same band. (qantas, rvmobileinternet)
Compare that to the Standard dish. Traditional Starlink systems often average 50-75 watts, with higher spikes at startup or during snowmelt. (bluettipower)
So roughly half the draw. On a 12V system, that difference is enormous.
How many watts does Starlink Mini use per day?
Run the math yourself:
- 30W average × 10 hours = 300Wh per day
- On a 100Ah lithium 12V bank (~1,280Wh usable), that’s four days from the dish alone
- Add ~15% for conversion and wiring losses and you’re still comfortable
- 100W of solar covers that load in most conditions, year-round in sunny regions
Those aren’t aspirational numbers. On my own 100Ah bank with a single 100W panel, the dish has never pulled the state of charge below 60% across a full sunny week. That’s a satellite dish running all day on a panel the size of a cookie sheet.
Why a 12V DC Starlink Mini setup is more reliable, not less
Here’s the counterintuitive part. Skeptics assume DC wiring is the fragile option. The opposite is true once it’s done right.
The official spec supports it directly. Starlink lists a 12-48V DC input on the Mini, alongside the 100W USB Power Delivery requirement for the USB-C accessory. (oupes) Every number in this article comes from Starlink’s own published specifications and support guidance, not from a reseller’s product page.
Notice that 48V ceiling. That is not a consumer afterthought. That is a range built for trucks, boats, and 24V and 48V house banks.
The hardware is sealed for it too. The Mini carries an IP67 Type 4 rating with the DC power cable and Starlink plug installed. (qantas) In plain words: the DC connection is the weatherproof one. The inverter and wall brick are the parts you have to hide from the rain.
The fix: a DC-DC boost converter for Starlink Mini
So how do you get 12V to behave? You stop trying to deliver 12V. You deliver a regulated higher voltage.
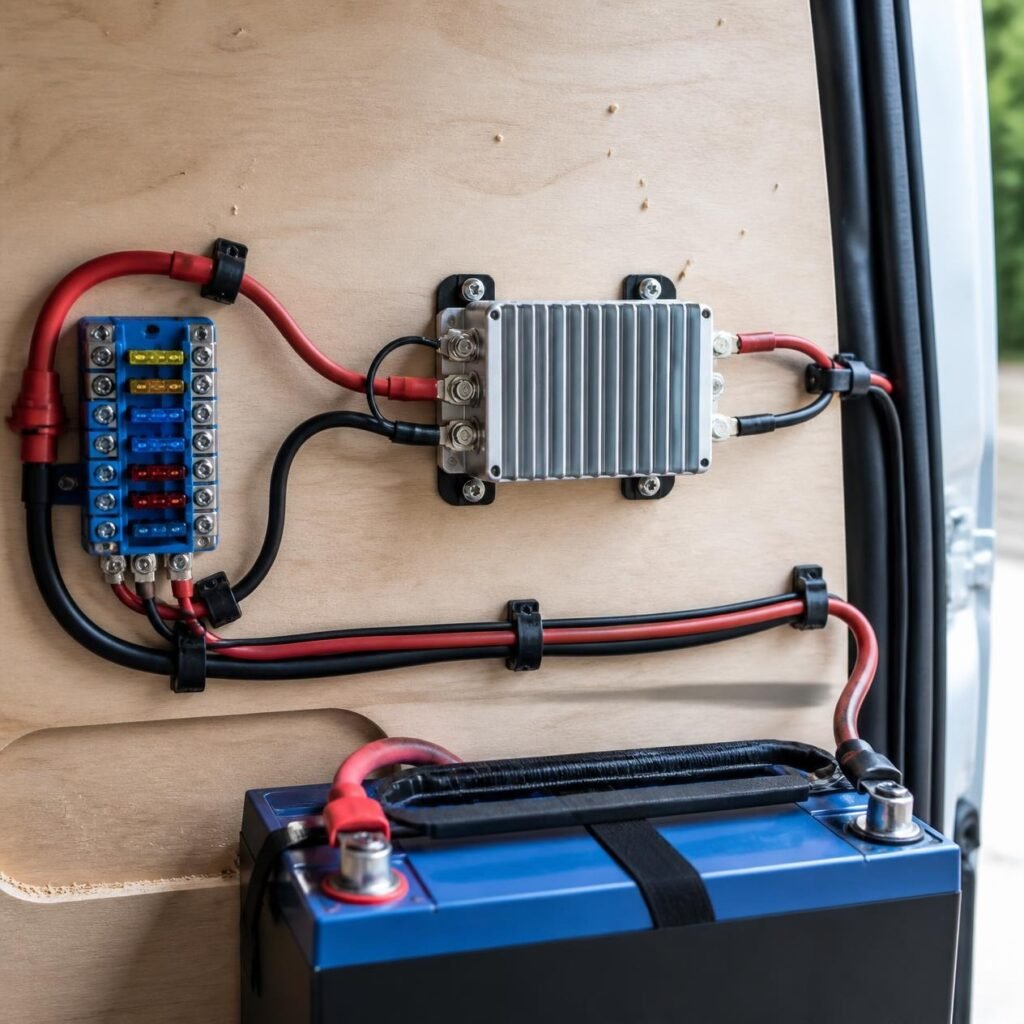
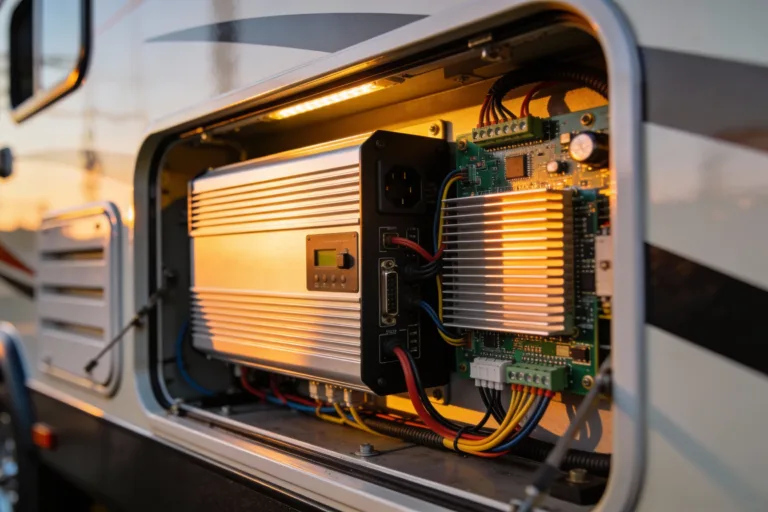
This is the move experienced builders make and casual reviewers never mention. You install a DC-DC boost converter between your battery and the dish. It takes your messy, sagging 11-14V battery output and turns it into a rock-steady feed the Mini loves.
Purpose-built units accept a wide 9-28V input and step it up to a stable 30V at around 3.5A, with built-in protection for over-temperature, over-current, low-voltage and short circuits. (newegg)
What a boost converter actually solves
- Battery sag stops mattering. Your bank can drop to 11V and the dish never notices.
- Voltage drop stops mattering. You can run a longer cable without hunting for lost volts.
- Cold mornings stop mattering. Lithium packs behave strangely in the cold. The converter absorbs it.
- The reboot problem disappears. Permanently.
Some of these boosters are sealed for permanent installs — rain, flooding, coastal salt spray — with bare input tails so you can hardwire them properly. (campervanbuilders)
That’s a $40 part that converts a flaky setup into an appliance. My first winter running the Mini without one, I dropped three calls in a single week. I have not dropped one since I wired the converter in.
Starlink Mini vs older off-grid internet options
“I’ve heard off-grid internet promises before.” You have. And they were mostly garbage.
Remember what the old options actually cost you:
- Geostationary satellite internet meant 600ms of latency. A phone call felt like shouting across a canyon.
- Satellite messengers gave you text, not internet.
- Cellular boosters only helped if a tower was already sitting over the hill.
Every one of them asked you to downgrade your expectations about what “connected” meant.
The Mini does not ask that. It’s a portable all-in-one kit with a built-in Wi-Fi router, a DC power input, and max speeds over 100 Mbps. (qantas) That’s not survival connectivity. That’s a video call where nobody says “you’re frozen.” And it fits in a backpack.
The kit ships with the integrated router, kickstand, pipe adapter, power cable and power supply. (qantas)
Starlink Mini 12V tradeoffs worth planning for
I’m not going to pretend there are none. You’d see through it anyway.
Wi-Fi 5, not Wi-Fi 6
The built-in Wi-Fi is Wi-Fi 5. That was a real letdown on the spec sheet. But it barely matters here. The Mini has a latching Ethernet LAN port. Plug your rig router into it. Your router handles the Wi-Fi and the Mini just handles the sky. (rvmobileinternet, qantas)
Cold weather raises Starlink Mini power draw
Snow melt mode pushes consumption up sharply in winter, toward that 60W peak. Budget for it instead of being surprised by it.
You still need a clear view of the sky
Dense tree cover is still the enemy. No technology fixes physics. Plan your sky the way you plan your road — the same pre-trip habit we lay out in our RV GPS apps for mountain routes guide.
Notice something about that list. Every item is predictable. You can plan around every single one before you spend a dollar. Compare that to the failure modes you’ve actually suffered: random shutdowns, mystery brownouts, gear that died for reasons nobody could explain. Predictable limits are a feature. Unpredictable ones are what break you.
How to wire Starlink Mini to 12V: a 5-step install
No mysticism. Five steps.
- Fuse at the battery. Always. Size it to your converter’s input, not the dish.
- Run heavy wire. 14 AWG minimum, heavier on long runs. Copper is cheap; downtime isn’t.
- Install a regulated boost converter. Feed the Mini a stable 24-30V, not raw battery voltage.
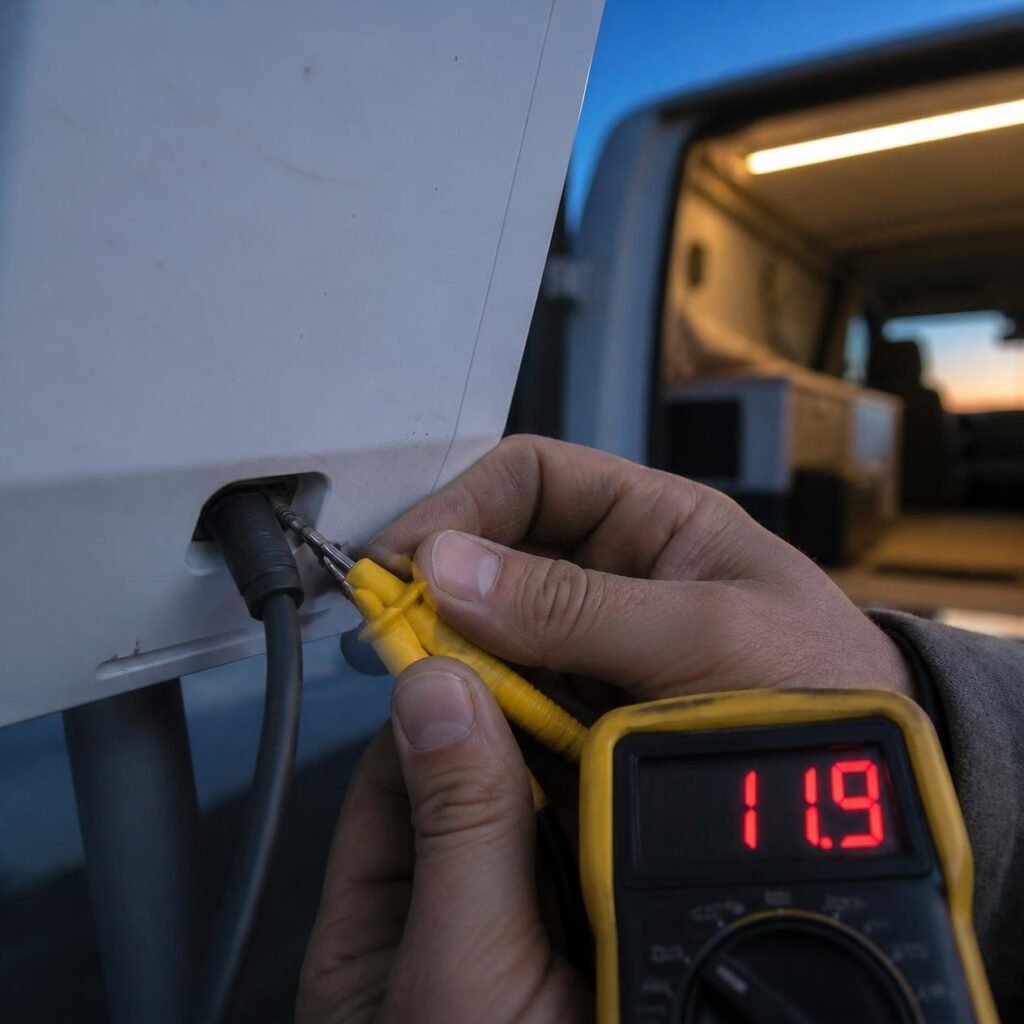
- Measure at the dish end, under load. Not at the battery. At the connector, with the system running. Confirm it stays comfortably above the 12.5V floor. (bcf)
- Use the proper DC barrel connection. The standard here is a 5.5 × 2.1mm DC jack. Don’t improvise. (bcf)
A $15 multimeter is the only thing that will tell you the truth at step 4. Guessing is how these builds die.
That’s an afternoon. Then you forget about it for years.
The reason most Starlink Mini 12V builds fail isn’t the Mini. It’s that people skip step 3, skip step 4, and then test it on a sunny day with a full battery — the one condition where even a bad install works.
Watch a Starlink Mini 12V install before you cut a wire
If you want to see the voltage problem and the fix on camera first, this walkthrough runs a Mini straight off a 12V system and tests it under real load.
Starlink Mini 12V Setup Made EASY — Real World Test
For the failure mode this article opens with, watch Starlink Mini Electrical Setup — Don’t Make This Mistake as well. Between the two, you’ll recognise your own build.
The Starlink Mini 12V parts list
Six parts. Nothing exotic. The converter and the fuse are the two nobody should skip.
| Part | What it does | Why it matters | Shop |
|---|---|---|---|
| 12V/24V to 30V DC boost converter, 3.5A | Turns sagging battery voltage into a steady 30V feed | The single part that ends the reboots | View on Amazon |
| Heavy-gauge Starlink Mini DC cable (14-16 AWG, 5.5 × 2.1mm plug) | Carries the load with minimal voltage drop | Thin wire is why long runs fail | View on Amazon |
| Inline blade fuse holder and fuses | Protects the circuit at the battery | Non-negotiable on any DC run | View on Amazon |
| Auto-ranging digital multimeter | Measures voltage at the dish end under load | Step 4 of the install is guesswork without it | View on Amazon |
| 100W 12V solar panel kit | Replaces the ~300Wh the dish uses per day | Covers the Mini year-round in sunny regions | View on Amazon |
| 12V 100Ah LiFePO4 battery | ~1,280Wh usable storage for the house bank | Four days of dish time before you think about it | View on Amazon |
Affiliate disclosure: the Amazon links above are affiliate links. If you buy through them, this site earns a small commission at no extra cost to you. It doesn’t change what gets recommended — the converter is the part that matters whether you buy it here or anywhere else.
What an off-grid Starlink setup actually buys you
Let me say the thing the spec sheets can’t. You didn’t build an off-grid rig to be unreachable. You built it to choose where you are without giving up who you are.
There’s a difference between solitude and isolation. Solitude is a canyon at sunrise with nobody around. Isolation is your daughter’s school calling and the message landing three days later.
The old tradeoff forced you to pick. Remote meant cut off. Connected meant tethered to a city, a tower, a lease.
A 25-watt dish and a $40 converter dissolve that tradeoff. You can take the job and the mountain. You can anchor in a quiet bay and still close the deal. You can live two hours past the last utility pole and still have a doctor look at a photo of your kid’s rash tonight.
That’s the emotional truth people who run an off-grid Starlink setup understand and critics never weigh. It isn’t about streaming. It’s about not having to choose between the life you want and the people you love.

Starlink Mini 12V FAQ
Can you run a Starlink Mini directly off a 12V battery?
Not reliably. The Mini accepts 12-48V DC, but it needs at least 12.5V at the connector, and a real 12V bank spends much of its life below that under load. A regulated DC-DC boost converter feeding a steady 24-30V solves it permanently.
What voltage does the Starlink Mini actually need?
The published input range is 12-48V DC. The practical floor is 12.5V measured at the dish connector while the system is running, not at the battery terminals.
How many watts does a Starlink Mini use?
Roughly 25-40 watts on average, about 15W at idle, and up to around 60W when snow melt mode runs. A standard Starlink dish averages 50-75 watts, so the Mini is close to half the draw.
Do I need an inverter for the Starlink Mini?
No, and you’re better off without one. An inverter converts DC to AC at 85-90% efficiency, the wall brick converts it straight back to DC, and most inverters idle at 5-15 watts on top. A 12V DC path skips all of it.
What size solar panel runs a Starlink Mini?
About 100W of solar covers a 300Wh daily load in most sunny conditions. In cloudier regions or through winter snow melt, size up to 200-300W.
What connector does the Starlink Mini 12V cable use?
A 5.5 × 2.1mm DC barrel jack. Use the proper plug rather than improvising, and run 14 AWG wire or heavier on long runs.
Why does my Starlink Mini keep rebooting in my van?
Almost always voltage sag. Battery under 12.5V, undersized wire, a long cable run, or a cold lithium pack will all pull the connector below the floor. Measure at the dish end under load, then add a boost converter.
Is the DC connection weatherproof?
Yes. The Mini is rated IP67 Type 4 with the DC power cable and Starlink plug installed. The inverter-and-brick path is the one that needs shelter.
Related reading
- Connectivity for RVs and trucks: the no-BS hub for staying online — where Starlink fits beside cellular, routers and failover
- Navigation and GPS for RVs and trucks — the routing playbook for getting the rig somewhere remote in one piece
- RV GPS apps for mountain routes — grade, clearance and offline maps when the sky is clear but the road isn’t
- Retrofit ADAS for older trucks — the other upgrade worth wiring into an older rig
- Powering Starlink with 12V DC, from the Mobile Internet Resource Center — independent testing across the full Starlink hardware line
The bottom line on Starlink Mini 12V
The skeptics are half right. Naive 12V wiring genuinely fails, and plenty of sellers won’t tell you that. But “it failed for me” and “it doesn’t work” are not the same sentence.
Build a Starlink Mini 12V system properly and you get a dish that averages 25-40 watts, runs off a modest solar panel, skips the inverter entirely, and keeps its IP67 seal on the DC connection. Real broadband speeds, anywhere with sky. (qantas) The whole thing hangs on one cheap part that most people skip.
Do it right and the system you’ve been dismissing becomes the most boring, dependable thing in your entire build. Off-grid, boring is the highest compliment there is.
So go find out which camp you’re in. Tonight, put a meter on your battery under a real load — lights on, fridge cycling, everything running. If it dips below 12.3V, buy the boost converter before you buy another thing.


One Comment