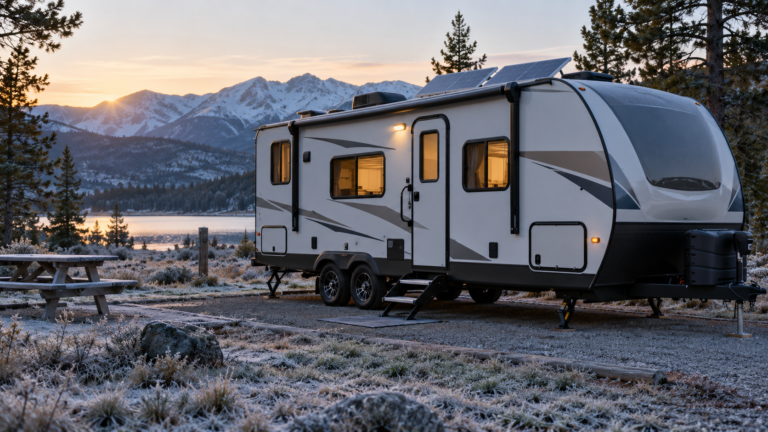
RV condensation that runs down a window can reach the dash, bedding or cabinet lining before the room feels damp. Buying a bigger dehumidifier may help, but first work out where the water comes from, which surfaces stay cold and how much electricity you can spare overnight.
Start tonight: wipe wet surfaces dry, exhaust cooking and shower moisture, and record cabin temperature and relative humidity before bed and after waking. Then use the seven checks below to choose a solution for your actual camping conditions. A shore-powered fifth wheel and an off-grid van need different moisture plans.
As an Amazon Associate we earn from qualifying purchases. Product links below are affiliate links. Recommendations are based on published specifications and suitability, not hands-on testing.
Table of Contents
1. Separate RV condensation from a water leak
Photograph the damp area before wiping it. A film across cold glass after two people sleep inside points toward condensation. A localized stain that returns after rain, a soft panel or water beneath a plumbing connection needs a leak investigation. Both problems can exist together; a dehumidifier cannot repair a roof seal.
Check the window frame, adjacent wall and underside of the ledge, then inspect the same area after dry weather. Note whether the water appears during showers, overnight cooling or rainfall. This short record gives a technician something more useful than “the wall gets wet sometimes.”
Do not seal window drainage openings to stop water appearing inside. Follow the window maker’s cleaning instructions and establish whether the water is on the room side, inside the frame or between panes. Persistent moisture between sealed panes is a different fault from room-side fogging.
An RV condensation check that takes five minutes
Before bed, dry one window, move the nearest cushion away from the wall and photograph both. Check them before cooking or showering in the morning. Widespread new droplets support a moisture-and-temperature explanation; one soaked corner still deserves inspection for an entry path. Treat this RV condensation test as a screening check, not proof that the roof is sound.
2. Measure humidity beside the problem, not above the heater
Put a hygrometer at breathing height away from a supply vent, direct sunshine and the dehumidifier outlet. Move a second sensor near the bed or cold cabinet if that is where RV condensation appears. Compare readings after they stabilize; do not interpret a brief shower spike as the overnight baseline.
A TempPro TP50 digital hygrometer is a sensible first purchase because it displays temperature, humidity and high/low records without needing campsite Wi-Fi. Use its readings to track changes rather than treating a one-percentage-point difference as meaningful.
The EPA recommends indoor humidity below 60%, ideally 30–50%. Those are general building guidelines, not a guarantee that RV windows will stay dry. Very cold glass can still collect water within that range.
For a cold-weather starting point, try roughly 40–45% RH and inspect the coldest surfaces. Lower the target only if necessary and comfortable. Tiffin’s Byway owner’s manual notes that cold-climate window control may require 35% RH or less. Your own RV’s instructions take priority.
Here is why temperature belongs in the log: at 68°F and 50% RH, the dew point is approximately 49°F. Glass at 45°F can therefore become wet. At the same room temperature and 40% RH, the calculated dew point drops to about 43°F. These rounded psychrometric examples explain why a modest humidity change can help without promising dry glass in every freeze.

3. Reduce RV condensation with source ventilation
Switch the bathroom exhaust on before showering, keep the door positioned as your RV manual recommends and run extraction afterward until the humidity trend falls. Confirm the vent actually opens. A noisy fan behind a closed lid may circulate bathroom air while leaving most moisture indoors.
Use the range hood while cooking if it exhausts outdoors, and release its exterior flap when required. Some hoods recirculate air through a filter; they do not carry water vapor outside. Put lids on pots, avoid prolonged uncovered simmering and dry wet coats in a ventilated area rather than against the bedroom wall.
When outside air has a lower dew point, controlled ventilation can remove moisture even if its relative humidity looks high. Cold air at 80% RH can contain less water vapor than warm cabin air at 50% RH. Compare dew points where available instead of deciding from the outdoor percentage alone.
For RV condensation control, open a suitable intake away from the exhaust and start with a low fan setting. Keep required fixed ventilation clear, and follow combustion-appliance instructions. Increase extraction for moisture-producing activities; avoid assuming maximum fan speed all night is the cheapest answer once replacement-air heating is counted.
Our camper ventilation guide explains intake and exhaust planning. For this problem, judge the result by falling humidity and dry hidden surfaces, not the fan’s advertised airflow alone.
Avoid a deep overnight thermostat setback while troubleshooting RV condensation. A rapidly cooling cabin raises relative humidity and chills surfaces just as occupants continue releasing moisture. Winnebago’s winter moisture guidance specifically advises avoiding drastic setbacks and checking enclosed storage. Keep a stable, suitable temperature for the comparison nights, then optimize fuel use after the moisture pattern is understood.
A vented RV furnace and an unvented fuel-burning heater are different moisture sources. Properly functioning sealed combustion equipment exhausts combustion products outdoors; an unvented appliance releases them inside. Never use the cooktop or oven as cabin heat. Keep required ventilation open and alarms operational, and follow appliance instructions rather than reducing airflow to chase a lower heating bill.
4. Find hidden RV condensation behind bedding and blinds
A dry living-room sensor does not clear the bedroom. Lift the mattress, feel the underside, inspect the bed platform and check where fabric touches exterior walls. Open storage areas for inspection while parked. Closely packed clothing and cushions can leave a cold surface isolated from the cabin’s warmer moving air.
Create the clearance your furniture and mattress manufacturer allow, and use a compatible ventilation layer if needed. Avoid drilling random holes into a platform that may conceal wiring, tanks or structural components. Dry damp bedding fully before putting it back; moving it to another closed compartment simply relocates the water.
Remove interior window covers each morning to inspect and dry the glass. A cover can make the room feel warmer while the glass behind it remains cold. If RV condensation hides behind a blind, the absence of visible fog from the aisle is a poor measure of success.
Improve insulation only with materials suitable for the surface and installation. Keep escape windows usable, drainage paths open and heater clearances intact. An RV condensation problem caused by cold surfaces deserves a surface solution, but insulating over damp material can conceal damage rather than solve it.

5. Choose a dehumidifier for the temperature it will see
Read the operating-temperature range before the square-foot coverage claim. ENERGY STAR warns that coil frosting can reduce performance below 65°F and advises choosing equipment intended for lower temperatures where needed. That does not mean every compressor model stops at 65°F; defrost systems and operating limits differ.
A compressor unit is worth considering in a heated, shore-powered RV with a continuing moisture load. A powered desiccant unit can suit cooler conditions if its manual permits them, but its regeneration heater still needs substantial electricity. Neither category earns an automatic recommendation without its temperature range, input power and drainage requirements.
Small thermoelectric units may collect water under favorable conditions, yet a few visible drops do not show that they can keep up with occupants, cooking and showers. Ask for extraction at stated temperature and humidity. If a listing gives only a tank size, you still do not know its moisture-removal rate.
Do not compare pint ratings from different test conditions as though they are interchangeable. ENERGY STAR explains that portable-unit testing moved from 80°F to 65°F, which lowered reported capacities. A smaller number on a newer test basis does not necessarily mean a weaker machine.
For RV condensation, the useful home trial is a repeatable evening: similar occupancy, temperature, cooking and ventilation, with humidity and collected water recorded. A tank that stays nearly empty while humidity remains high suggests a poor operating match, restricted airflow or a fault. Check the manual before lowering the humidistat further.
6. Calculate the battery cost before running overnight
Measure energy over a representative period rather than multiplying the nameplate watts by an assumed duty cycle. A P3 P4400 Kill A Watt electricity monitor can track a compatible plug-in appliance’s kWh use. Keep the meter dry, observe its ratings and use it only with the supply arrangements its instructions permit.
Consider an illustrative 250W appliance that actually runs for six hours. It uses 1,500Wh at the AC outlet. At an assumed 90% inverter efficiency, battery energy is approximately 1,667Wh, before any additional idle consumption. At nominal 12.8V, that is about 130Ah. This is a calculation example, not a tested dehumidifier specification.
A nominal 12.8V, 100Ah battery stores 1,280Wh before reserve and operating limits. It cannot supply that example load for six hours on its own. A 200Ah bank stores 2,560Wh nominally, so the same appliance would consume roughly 65% before the fridge, furnace fan, lights and your chosen reserve.
For comparison, an illustrative 12V fan drawing a measured 0.5A for eight hours uses 4Ah, or about 51Wh at 12.8V. That is not equal moisture-removal performance, and it excludes extra heating fuel or electricity. It does show why source extraction deserves a trial before adding a large overnight inverter load.
Use our boondocking electrical checklist to establish the rest of your overnight demand. A properly installed battery monitor can show the total DC cost, including losses that an AC plug-in meter misses.
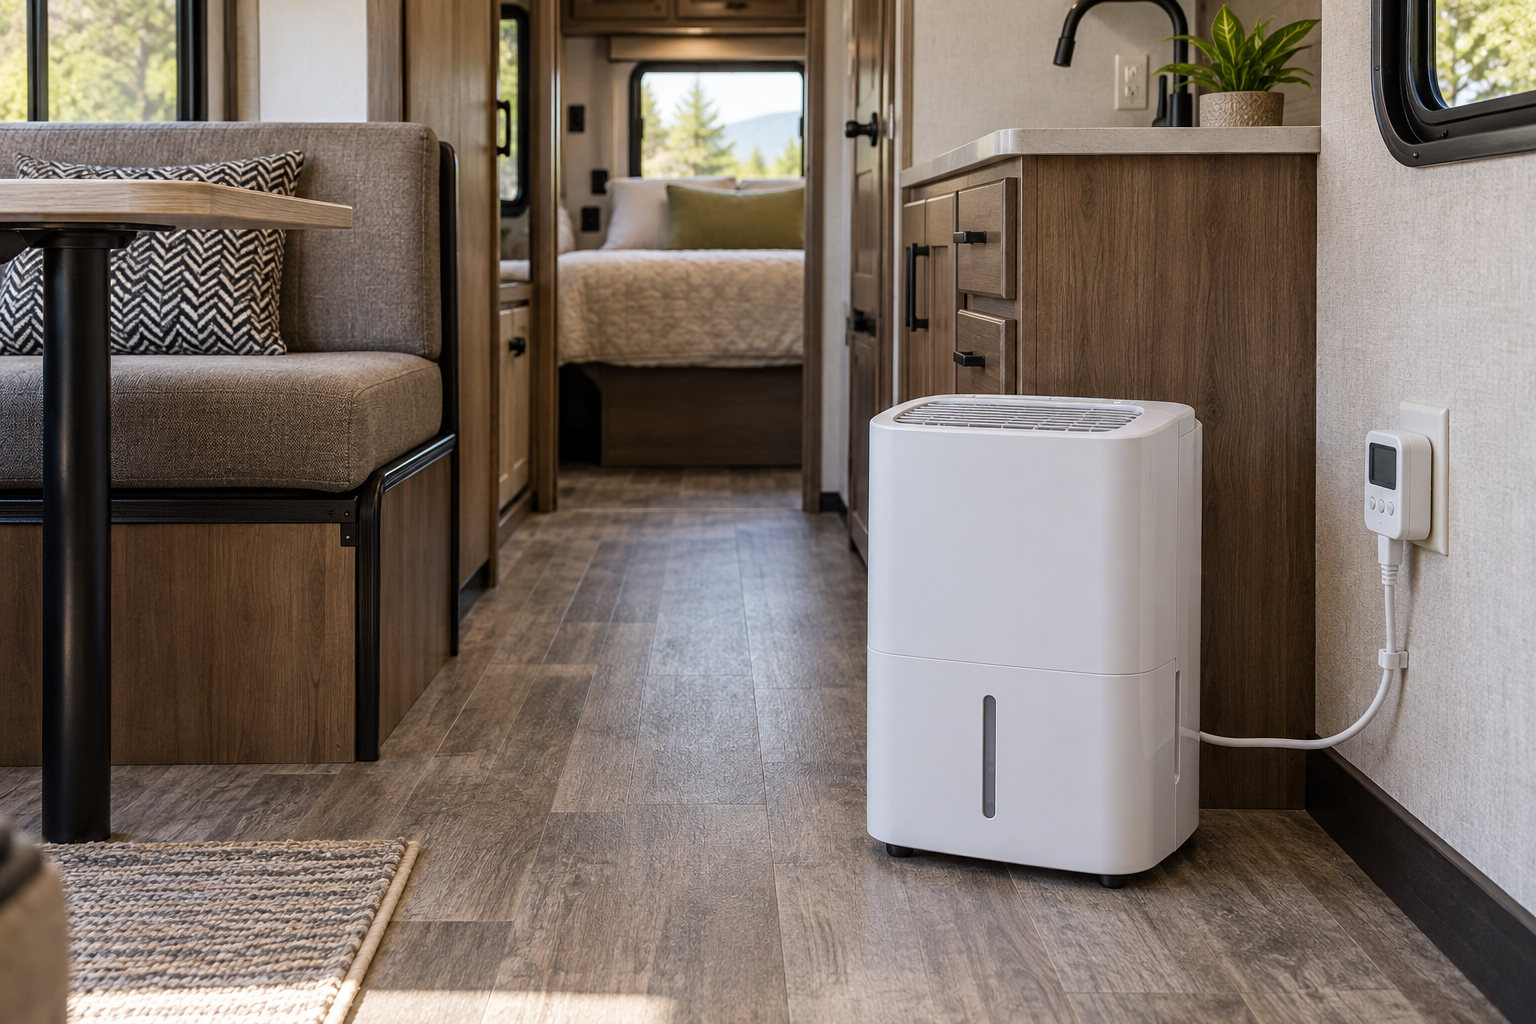
On shore power, include the dehumidifier when checking the circuit load alongside electric heat and cooking appliances. Place it upright with manufacturer-specified airflow clearance and a dry grounded connection. Route any drain securely with the required fall, and verify its destination cannot freeze, overflow or wet electrical equipment.
7. Control RV condensation during storage
RV condensation during occupied winter camping reflects a continuing moisture load. An empty stored trailer should start with dry upholstery, repaired leaks, emptied water containers and clean accessible inspection points. Use your electrical winterization plan before deciding whether any appliance should remain connected.
For an enclosed storage compartment without power, DampRid fragrance-free refillable moisture absorbers provide passive collection without drawing from the house battery. They suit limited residual moisture loads; they are not a substitute for fixing water entry or a whole-cabin solution for people living inside.
Keep collectors upright, secured and away from children, pets, fabrics and metalwork as the label directs. Inspect and replace them according to conditions. Do not promise yourself a season of unattended protection from a package’s maximum-life claim; temperature, humidity and air leakage change how quickly an absorber is exhausted.
Powered storage needs a different checklist: permitted operating temperature, safe continuous drainage, restart behavior after an outage and a practical inspection schedule. If winter conditions fall outside the appliance’s range, a timer cannot make it suitable. Follow the RV manufacturer’s guidance for storage ventilation rather than sealing or opening every vent by habit.
Use a two-night log to judge the result
Record bedtime and morning temperature/RH, outside conditions, occupancy, wet activities, fan setting and any appliance kWh. Add a photo of the same window and a quick mattress check. Change one major variable on the second night so you can connect the result to a specific action.
Success means less collected water on vulnerable surfaces, bedding that stays dry and an energy cost you can sustain. If RV condensation persists at one location after room humidity falls, investigate that cold bridge or possible leak. Do not keep buying extraction capacity to compensate for an unexamined wet wall.
A second RV condensation check belongs at departure: clear the windshield and mirrors completely, remove wet wiping cloths for drying and verify that stored equipment cannot slide into a walkway. Empty and secure a portable dehumidifier as its transport instructions require. The water you collected should leave the living space, not ride in an open bucket beside the electrical panel.
Watch a practical RV moisture walkthrough
The Fit RV’s Managing RV Condensation – Part 1 shows why windshield water and hidden cold spots need separate attention. Treat the owners’ equipment observations as their experience; your rig’s insulation, power supply and weather may produce different results.
RV condensation FAQs
How do I stop RV condensation on windows overnight?
Dry the glass, exhaust evening cooking and shower moisture, and check humidity before bed. Provide controlled ventilation when outside air has a lower dew point. Inspect behind blinds in the morning. If RV condensation continues at one window after cabin humidity falls, investigate its colder frame and any possible leak.
What humidity should I keep my RV at in winter?
Start around 40–45% RH, then inspect the coldest windows, cabinets and mattress underside. Colder surfaces may need a lower target; some RV manuals suggest 35% or less in cold climates. A comfortable cabin reading is only part of the RV condensation check, so record temperature alongside humidity.
Does a dehumidifier stop RV condensation in cold weather?
It can reduce airborne moisture if it operates within its specified temperature range and has enough capacity. Compressor performance may fall as coils frost; powered desiccant models have different limits and energy costs. Check actual water collection and humidity change rather than assuming that a running fan means effective extraction.
Can I run an RV dehumidifier from a 12V battery?
A compatible AC model can run through a suitably rated inverter, but the energy cost can be large. A hypothetical 250W load running six hours needs about 1,667Wh from the battery at 90% efficiency, before additional idle losses. Measure your own RV condensation equipment and preserve capacity for essential loads.
Will DampRid prevent condensation in an occupied RV?
Passive absorbers can help small enclosed spaces or limited residual moisture during storage. They rarely provide a complete answer to continuous moisture from occupants, cooking and showers. For occupied RV condensation, use source extraction, humidity measurements and inspection first. Secure collectors and follow the product label to avoid spills.
Why is there moisture under my RV mattress?
A cold bed platform and restricted airflow can leave the mattress underside damp even when the aisle sensor looks normal. Lift and dry the bedding, inspect the platform and check for leaks. Use manufacturer-approved airflow clearance or a suitable ventilation layer; do not cover wet material and assume the problem has disappeared.