RV tire pressure cold weather checks can help you distinguish a normal overnight drop from a tire that needs service. If all four trailer tires are a few pounds low after an overnight cold front, start with the weather and a hand gauge. If one tire is much lower than its neighbors, investigate that wheel before towing. In both cases, confirm the correct cold inflation pressure for your rig before adding air.
As an Amazon Associate, we earn from qualifying purchases.
Table of Contents
1. Start with the tire placard
On a travel trailer or fifth wheel with the specified tires, find the tire and loading label and read the cold inflation pressure for the trailer. On a motorhome, look for the vehicle certification label and the chassis or coach instructions. On a pickup towing a trailer, consult the truck’s label and towing guidance separately. The pickup’s front and rear targets can differ, and neither tells you what the trailer should run.
Take a clear phone photo of the label and keep it with the rig’s paperwork. Include the specified tire size and the inflation numbers. At the next tire replacement, compare the new tire’s size, type and load rating with the vehicle documentation. If those details differ, ask the RV maker or a qualified tire professional to confirm fitment and the inflation requirement before assuming the old number still applies.
The pressure molded into a tire sidewall relates to the tire’s rated load. A vehicle placard gives a recommendation for a particular vehicle application. The numbers sometimes match, which helps explain why two owners can follow different rules and get the same answer on their own trailers. NHTSA’s TireWise guide explains where to find the vehicle recommendation and how to measure tire pressure.
Put the numbers in a small card you can read from the cab. Include the truck’s front and rear values, the trailer value or motorhome axle values, and the spare. If two people share driving duties, agree which document those figures came from and where it lives. The card is especially handy when a campground departure starts in the dark and the monitor has separate views for the truck and trailer.
2. Measure before the tires warm up
Plan the check for the morning, before you move the RV or sunlight hits one side. NHTSA uses at least three hours since driving as its cold-tire reference. A sunny sidewall and a shaded sidewall can give different readings even while the rig is parked. If you are comparing wheels to look for a leak, take the measurements under similar conditions and record the outside temperature along with the pressures.
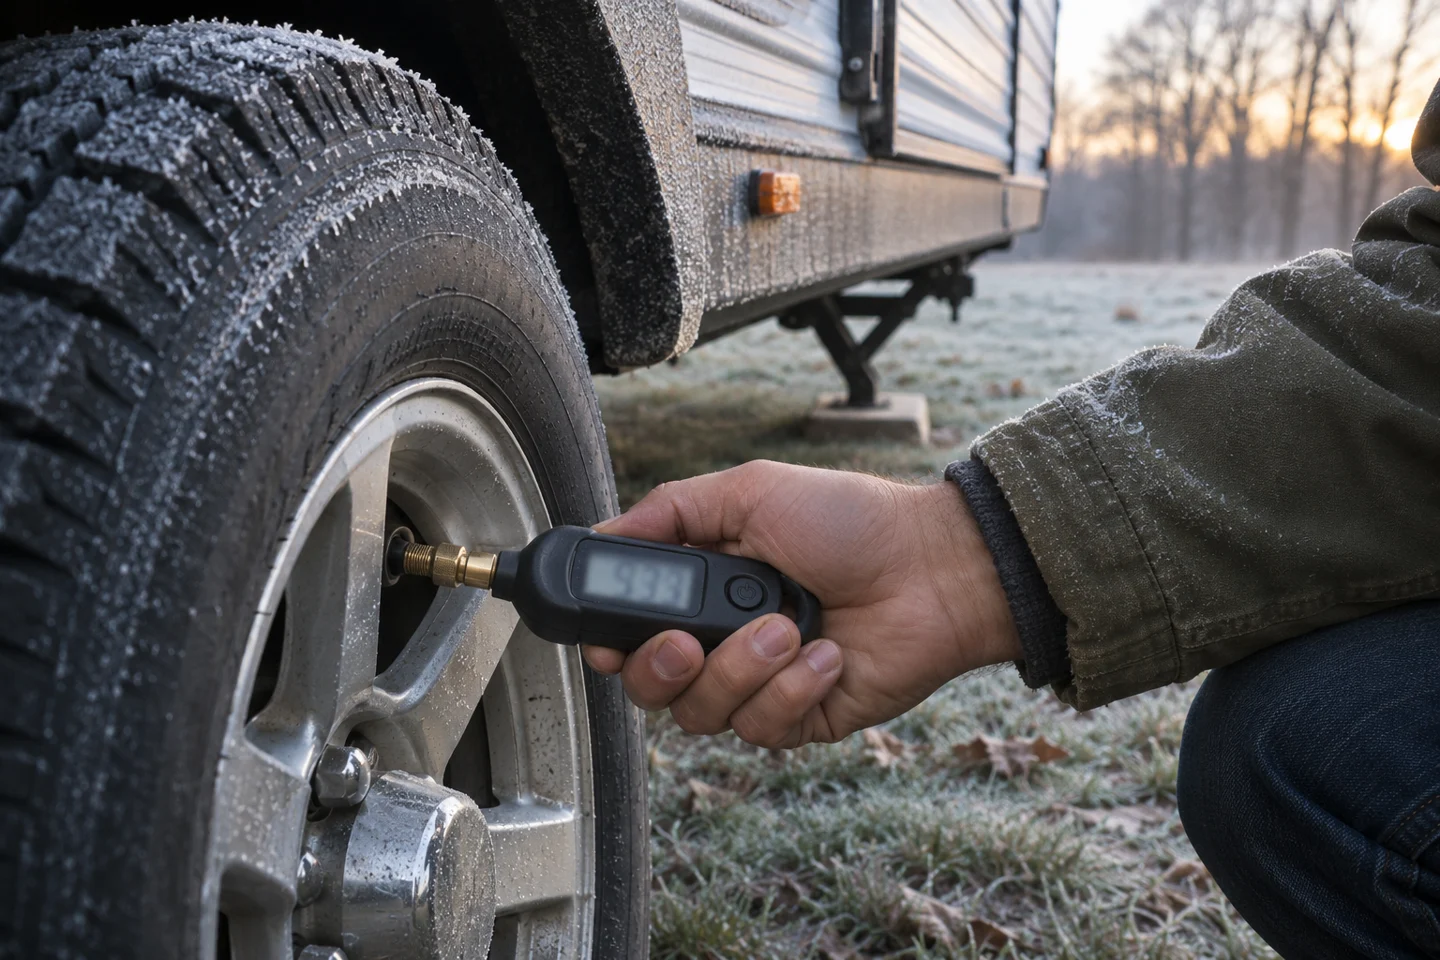
Use the same gauge for each wheel. Press it squarely onto the valve until the reading stabilizes. If it hisses throughout the check or the number surprises you, reseat the gauge and repeat. Include both rear tires in a dual-wheel position where applicable, and check the spare against its own specification. Replace valve caps or reinstall external sensors according to their instructions.
The AstroAI 150 PSI digital tire pressure gauge has a lit nozzle and display for quick checks on accessible valves. The manual for this version lists an operating minimum of 23°F, so for colder conditions or deep dual-wheel access, carry a gauge rated for the temperature and valve geometry you expect.
Save the first reading from each wheel before adding any air. If you correct the pressure as you go and forget what the gauge originally said, you lose the comparison that might identify a leak. Use the photo on your phone or a piece of paper. The practical record is the wheel position, before and after pressure, ambient temperature and whether the tire was shaded.
3. Compare RV tire pressure cold weather readings wheel by wheel
RV tire pressure cold weather example: four tires versus one
Goodyear’s RV guide estimates about a 2% decrease in inflation pressure for each 10°F decrease in outside temperature. Using that rule for an illustration, a trailer tire starting at 65 PSI could read roughly 61 PSI after a 30°F drop. That estimate helps explain a pattern. The target for the trip still comes from your vehicle’s approved cold inflation recommendation.
Imagine four trailer tires that were measured at 65 PSI at 60°F. The next morning at 30°F, you see 61, 61, 60 and 61 PSI. Confirm with your gauge and bring the tires to the specified cold pressure before leaving. If the same check instead reads 61, 61, 60 and 52 PSI, inspect the outlier. A slow puncture, leaking valve, poorly seated external sensor or bead leak can occur on the same night as a cold front.
Look for damaged sidewalls, exposed cords, bulges, or an embedded object without disturbing it. Arrange tire service or roadside assistance if a tire is visibly damaged, has lost substantial pressure or cannot hold its specified inflation. For a small recurring difference with no visible damage, write down the same-temperature readings and have the wheel checked. Repeatedly topping off one wheel makes it harder to see the rate of loss. The Goodyear RV tire care guide also discusses how elevation changes can affect the readings.
A split reading also deserves a second look when you have just turned the rig around or parked with one side in direct sun. Move your next measurement to a time when both sides have had similar exposure. If the low reading persists, turn the result into a service note with the tire position and dates. That gives the shop a starting point for inspecting the correct assembly.
4. Use the right load table for a motorhome
If the coach and tire manufacturers provide a load-based inflation procedure, weigh the motorhome as you actually travel. Include passengers, equipment, slide-out cargo, and the water and fuel you usually carry. A coach weighed empty can produce a plausible-looking number that misses several hundred pounds of real trip load. If you change the way you load the coach, the results may need to be revisited.
For the RV tires covered by Michelin’s load and inflation tables, Michelin instructs owners to use the heavier axle-end load to establish pressure for the whole axle. Match the tire markings and single or dual configuration to the table. Verify the wheel and valve limits, and follow the vehicle maker’s requirements. A scale ticket with axle totals cannot show how unevenly the load is distributed across the two sides.
For example, a motorhome axle with 3,350 pounds on the left and 3,050 on the right averages 3,200 pounds per side. A table lookup based on that average misses the heavier position by 150 pounds. That is why individual wheel-position weights are worth obtaining if the approved procedure calls for them. If any wheel position, axle, or the vehicle itself exceeds its rating, solve the loading problem before departure.
Call ahead before visiting a scale for individual wheel positions. Ask whether it supports that procedure and how to position the rig. Keep the original ticket with your inflation notes, including which side was heavier and how the coach was loaded. A fresh weighing makes sense after major changes such as adding a rear carrier or changing how much water you routinely take off-grid.
5. Set TPMS alerts from verified cold pressures
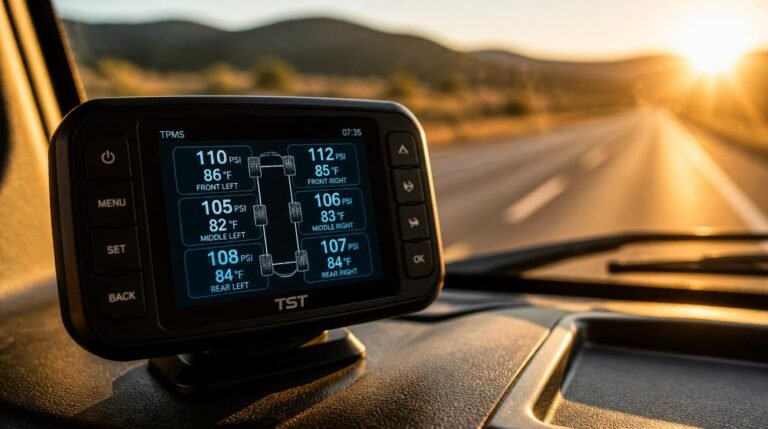
With the cold pressures confirmed, check the monitor’s tire map. Label positions as you stand facing the direction of travel, then confirm the display identifies the same wheel you are measuring. If the monitor begins the morning with yesterday’s values, follow its refresh or wake-up instructions. A stale reading is easy to mistake for a tire that held pressure overnight.
Set the reference pressure and alerts using the instructions for your exact sensor and display model. Some monitors calculate alerts from a programmed baseline, while others allow separate thresholds. Where the truck and trailer share a monitor, confirm that every group uses its correct baseline. A trailer wheel with the wrong position or reference value can make a legitimate alarm harder to interpret.
For a tandem-axle trailer, the TST 507 four-cap-sensor kit gives the driver four wheel positions on one display. Check valve compatibility, install the repeater as directed by TST and test reception with the truck and trailer hitched. Our RV TPMS comparison covers other sensor formats and monitoring setups.
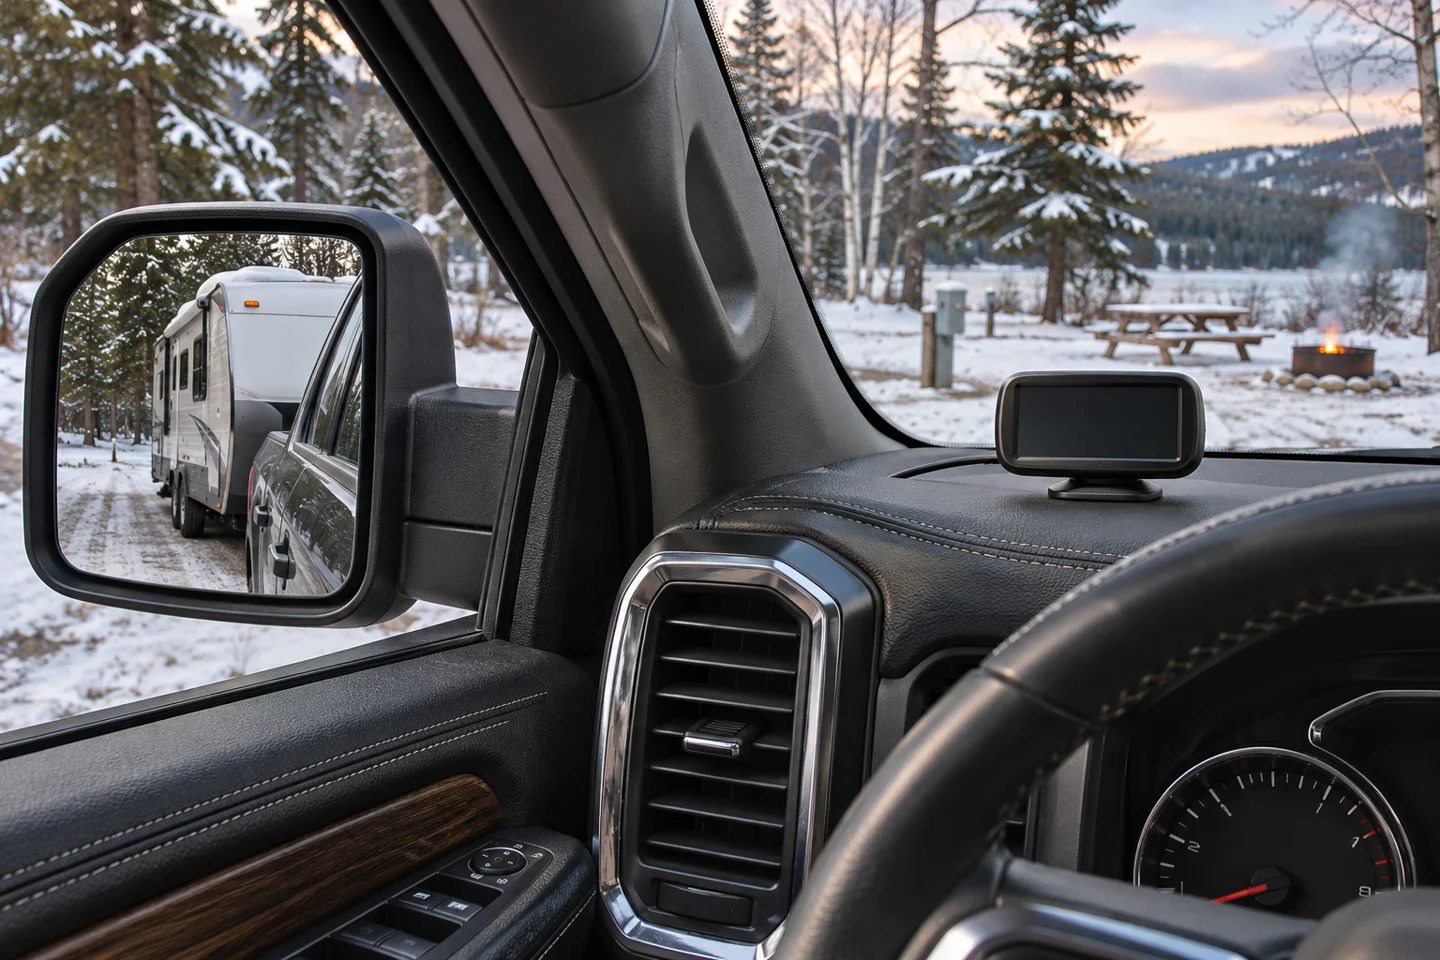
If the display flags one wheel on the road, slow safely, find a safe place to stop and inspect it. Look at the rate of pressure change and any accompanying alert. A rapid loss deserves immediate attention even when the indicated pressure still looks close to the departure number. If a sensor repeatedly drops offline, check the tire by hand and restore monitoring before relying on that position again.
A parked test can save a confusing roadside stop. With a helper at the display, check each sensor’s location and compare the readings against the hand gauge. Use the maker’s test procedure for alarms rather than intentionally driving on a soft tire. Confirm the monitor still receives all positions from the driver’s seat with the tow vehicle in its normal configuration.
6. Carry an inflator that can reach every valve
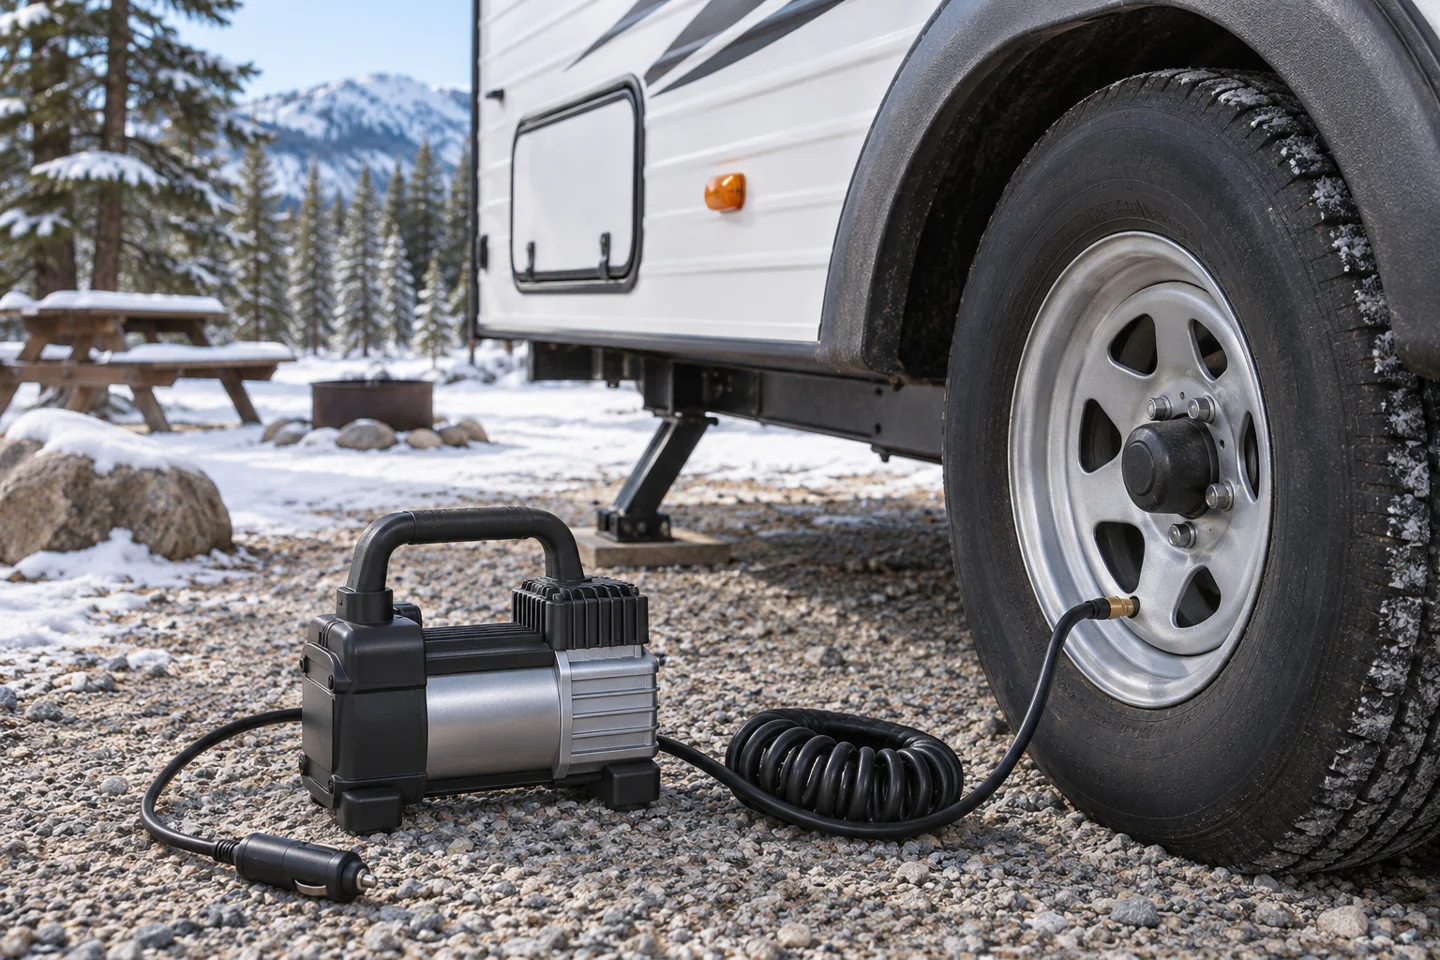
A compressor’s maximum working pressure tells you only part of what you need to know. Look for performance near your actual cold target, the duty cycle at the stated test conditions, power requirements and enough hose to reach the far rear trailer wheel from the approved connection point. Test the reach in your driveway with the rig hitched. If a chuck only reaches the valve at a sharp angle, sort out the fit before you need it on a cold morning.
The VIAIR 400P-RV Automatic, model 40047 is a battery-clamp compressor with a 150 PSI maximum working pressure. Its manual lists a 20-minute on and 40-minute off duty cycle at 72°F and 100 PSI. Verify the power connection requirements and follow the operating instructions. After topping up, use your hand gauge for the final reading.
Keep the gauge, inflator and correct valve chuck together, along with the tire placard photo. If you rely on onboard power for other equipment during winter stops, the site’s RV boondocking electrical checklist can help you check those loads separately. For a brief top-up, a portable pump makes sense when its hose and power lead reach comfortably without routing across traffic.
A dual-head chuck or approved extension can make an inner valve accessible, but the valve design and support matter. Confirm compatibility with the installer before choosing an extension or a cap sensor. After installation, check the completed assembly for leaks and confirm it can still be reached with a gauge. A setup that is difficult to service tends to get skipped on the coldest mornings.
7. Recheck the next morning after a weather change
Reset your routine when you move from a heated garage to outdoor storage, descend from the mountains, or wake up after another cold front. Check again once the tires have stabilized outdoors. Record where and when you measured. A note that simply says “65 PSI” is less useful than one that says “all four at 65 PSI cold, 31°F, campsite, before towing.”
Once you are driving, normal operating heat can raise pressure. Leave hot tires alone rather than bleeding them down to the cold figure. If one rises or falls conspicuously compared with the rest, stop somewhere safe and investigate the tire and wheel. Sun exposure and sensor position can affect comparisons, but a persistent anomaly warrants attention before you continue.
If your RV has been parked for weeks, inspect the tires before the first move and measure each one cold. Take a closer look at the inside sidewalls where accessible and check the spare. Keep the next morning’s readings for comparison after any suspected leak or service. Our RV electrical winterization guide is a companion checklist if the rig is also coming out of storage.
For a departure after several cold nights, make the walkaround a two-person job if you have help. One person calls out wheel positions and gauge readings while the other records them and checks the display. Do a final pass for caps, sensors and the spare. If one tire needs attention, flag it in your notes and resolve the cause before the next leg.
Frequently asked questions
Should I add extra PSI to RV tires in winter?
Set the approved cold pressure for the tire and vehicle setup. A cold front changes what your gauge reads, so check and adjust before departure. A seasonal bonus can push you above the applicable limits.
How much tire pressure does an RV lose in cold weather?
Goodyear’s RV guide estimates roughly 2% per 10°F of temperature drop. Measure every tire with a gauge and compare the pattern. The estimate does not tell you whether a particular tire has a leak.
Should travel trailer tires be inflated to the sidewall number?
Start with the trailer maker’s cold recommendation for the specified tires. If you changed tire type, size or load rating, get the correct fitment and pressure guidance from the maker or a qualified tire professional.
Why is only one trailer tire low after a cold night?
Confirm the reading by hand and compare it with the other tires at similar temperatures. A valve, bead, puncture or external sensor seal can lose air at the same time the weather cools.
Can I let air out if my RV tires read high after driving?
Avoid reducing a hot tire to its cold specification. Recheck in the shade after it has cooled. If one wheel behaves differently or the monitor reports an abnormal reading, stop safely and investigate.
Can I trust my RV TPMS for the morning pressure check?
Use it to see patterns and receive alerts, and confirm the departure pressures with a hand gauge. Check that every sensor is online, reporting a fresh value and mapped to the right wheel.