If your RV battery drains with disconnect off, the switch may be doing exactly what the builder intended: disconnecting the main fuse panel while leaving other circuits connected. Before buying another battery, find out what the switch actually isolates, measure the remaining draw, and identify the circuit responsible. A weak battery or incomplete charging can produce similar symptoms.
The useful question is not simply “Is anything on?” It is “How many amps are leaving this particular battery bank, through which path, and for how long?” These seven checks turn that question into a repeatable troubleshooting process for a parked RV.
Table of Contents
1. Confirm which battery is losing charge
Start with the house battery and chassis battery as separate systems. A motorhome can have a healthy house bank and a depleted starting battery; a trailer can draw from its own bank while connected to the tow vehicle. Record which bank fails and whether the rig was plugged into shore power, connected to solar, or attached to a running vehicle.
Write down battery chemistry, rated capacity, approximate age, and the time between parking and failure. “Dead after ten hours with the furnace running” points somewhere different from “dead after three weeks in storage.” Check the charger settings against the battery manual before assuming yesterday’s charging session restored full capacity.
A voltage reading is useful context, but it does not prove usable capacity. Loads and charging change terminal voltage, and lithium state of charge is especially difficult to infer from voltage alone. If a correctly charged battery still performs poorly with known loads, arrange a chemistry-appropriate capacity or health test.
2. Find out why an RV battery drains with disconnect off
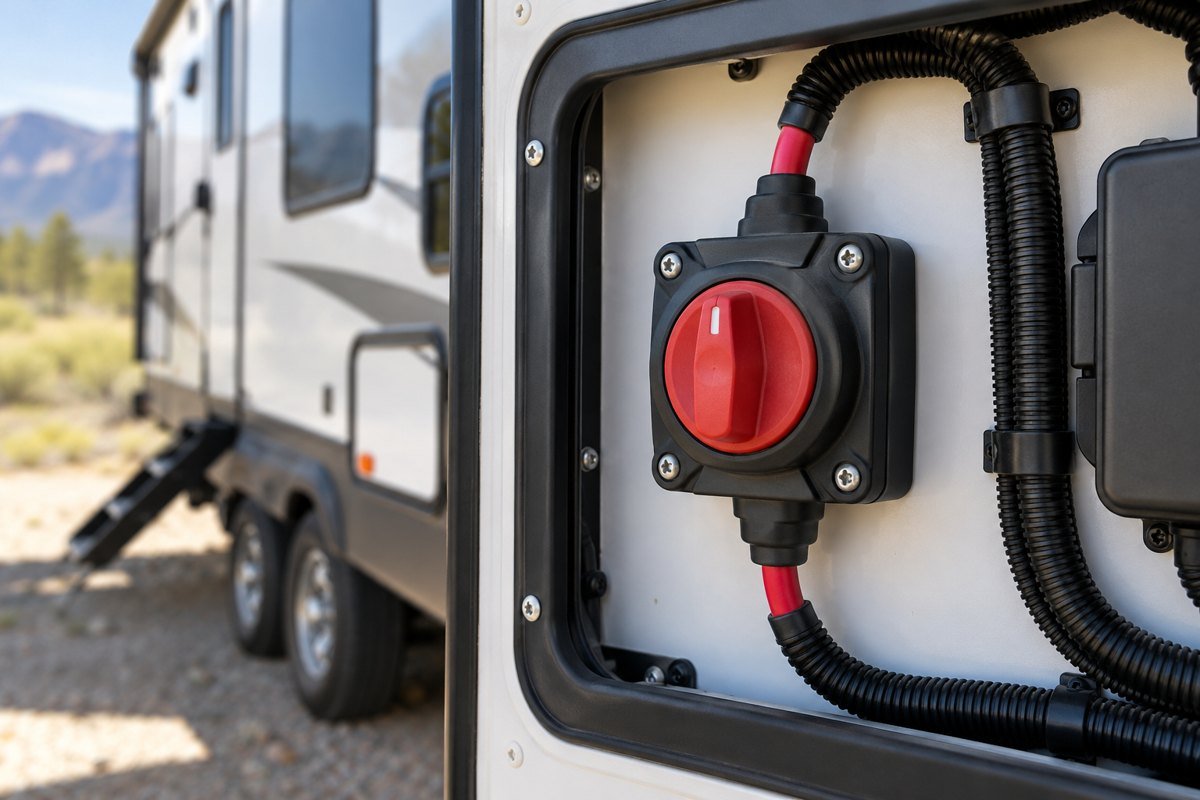
Read the owner’s manual and wiring diagram for your model. “Battery disconnect,” “store,” and “salesman switch” are not interchangeable guarantees of complete isolation. A switch might operate a relay supplying the interior panel while a separate inverter feed, charging path, or accessory remains connected upstream.
For a documented example, the Jayco family towable manual explains that its disconnect does not remove power from every device and that converter charging can remain possible. Your own model’s diagram determines what stays connected.
Photograph the compartment before touching anything. Look for additional fused wires leaving the battery positive terminal or distribution bus. Trace labels and accessible cable routes visually; do not disconnect unidentified cables to see what happens. A switch can work properly while an aftermarket accessory bypasses it. Conversely, a failed relay can leave a supposedly isolated branch energized.
Treat disconnect testing as a parked diagnostic task. Do not disable propane or carbon-monoxide protection in an occupied RV, and preserve the trailer breakaway system for travel. A storage arrangement that removes safety power must be reversed and checked before occupancy or towing.
3. Translate standby current into lost capacity
A small continuous load becomes significant when multiplied by days. Use amp-hours consumed = average amps × hours. Convert milliamps first: 250 mA equals 0.25 A. The examples below are calculations, not measured values for your RV.
| Constant draw | Loss in 24 hours | Loss in 7 days |
|---|---|---|
| 0.05 A | 1.2 Ah | 8.4 Ah |
| 0.25 A | 6 Ah | 42 Ah |
| 0.50 A | 12 Ah | 84 Ah |
| 1.00 A | 24 Ah | 168 Ah |
For example, an assumed 50 Ah usable storage budget divided by a measured 0.25 A gives 200 hours, or about 8.3 days. That is a planning estimate, not a promise: temperature, battery condition, cycling loads, and the chosen reserve change the result. Rated capacity is not automatically your usable budget.
Do not apply a passenger-car “normal milliamps” figure to every house bank. A monitored, occupied RV has different intentional loads from an isolated trailer in storage. Establish a baseline for your equipment and investigate unexplained changes.
4. Measure the bank without hiding the problem
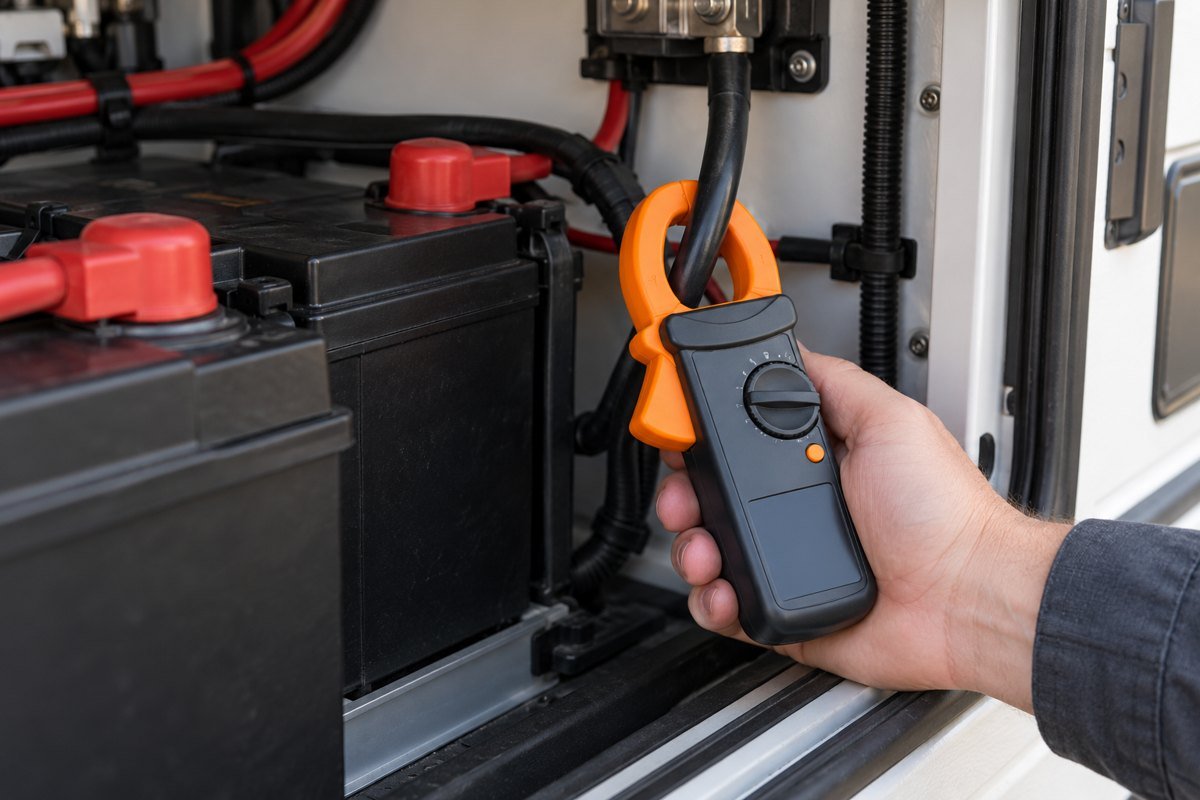
Use an existing correctly installed shunt monitor or a suitable DC current clamp. A clamp that measures only AC current cannot measure a DC battery drain through its jaws. Zero a DC clamp according to its instructions, close the jaws fully around one conductor, and keep the cable position consistent between readings.
Clamping around positive and negative together can cancel the reading. Measuring just one of several parallel return cables can miss current. Find the common measured path or account for all paths. The Pico Automotive clamp-testing guide demonstrates the importance of preparing the vehicle and observing shutdown behavior.
Disconnect shore power and stop other charging only by the equipment manufacturer’s procedure. Solar can hide a drain by replacing energy during the test; a shunt then shows net battery current rather than total appliance demand. Do not unplug loaded solar connectors or improvise a controller shutdown sequence.
Turn off ordinary loads, allow electronics to settle, and record readings with the disconnect on and off. Opening a door or operating a control can wake a module, so note those events. An unstable reading may be a cycling load rather than a bad meter.
A shunt also has blind spots if wired incorrectly. Victron’s SmartShunt installation instructions place load and charger negative connections on the system side. A bypass return can conceal consumption. If you need help selecting a monitor, our Victron and Renogy battery-monitor comparison explains the main choices.
5. Narrow down the remaining circuit
Begin with accessible controls: switch off an unused inverter at its proper control, unplug optional USB accessories, turn off the antenna amplifier, and disable a router using its normal power control. Change one thing, record the current, then move to the next. Avoid changing five devices at once and losing the evidence.
Possible remaining loads include stereo memory, tracking equipment, powered antenna electronics, inverter standby, and connected appliance controls. None is automatically defective. Compare each device’s intended function and documented standby consumption with your measurements.
A substantial drop identifies a useful lead. If current falls from an illustrative 0.60 A to 0.15 A after switching off an optional accessory, the difference is 0.45 A, equivalent to 10.8 Ah per day if continuous. Repeat the change to confirm it before buying parts.
For circuits without accessible controls, use the wiring diagram and have a competent technician isolate branches. Fluke’s parasitic-drain guide covers current measurement and fuse voltage-drop testing. Pulling fuses can wake electronics; fuse voltage-drop interpretation needs the correct fuse data and sufficient meter resolution.
Never put a meter set to amps directly across the battery terminals. Series-current testing sends circuit current through the meter and can overload it when an unexpected appliance starts. A handheld meter’s microamp input is not a substitute for a battery-current clamp. Leave unfamiliar series tests and live high-current disconnections to a technician.
For a visual explanation of automotive parasitic-current diagnosis, see HumbleMechanic’s “The BEST Way TO Perform a Parasitic Draw Test.” It addresses vehicle battery testing rather than a particular RV layout; use it alongside your own wiring diagram and the meter manufacturer’s instructions.
6. Check charging paths and intermittent behavior
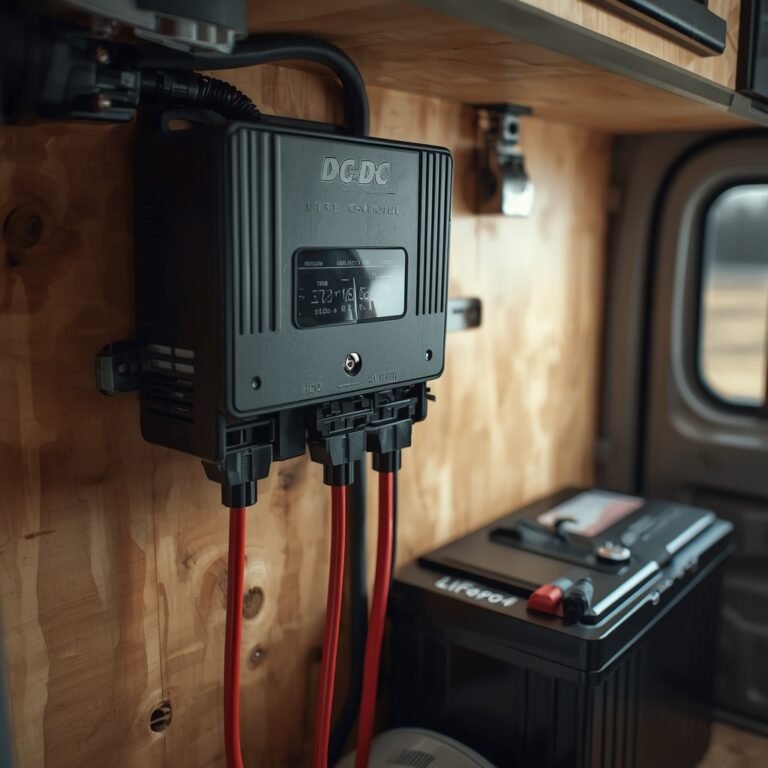
If ordinary branch controls make little difference, review separately wired equipment and links between banks. A battery-combining relay, alternator charging installation, or aftermarket wiring deserves attention when the starting battery also loses charge. Our DC-to-DC charger versus battery-isolator guide explains the different roles of those components.
Do not condemn a charger solely because its indicator is illuminated. Check actual charging behavior and settings against its manual. Likewise, a lithium BMS shutdown can resemble a flat battery; use the manufacturer’s diagnostic instructions instead of repeatedly trying to wake it.
If the fault appears only overnight, record a longer period using appropriate monitoring equipment. A brief daytime check may miss a heater, refrigerator control cycle, tracker transmission, or intermittent relay. Compare amp-hours over time with your expected loads, rather than relying on a single instant.
Stop if you find melted insulation, a hot connection, swelling, leakage, or repeated protection trips. Those symptoms need repair before another storage experiment.
Tools worth considering after the first checks
Affiliate disclosure: This article contains affiliate links. As an Amazon Associate I earn from qualifying purchases. These are specification-based suggestions, not claims of hands-on testing.
Klein Tools CL390 AC/DC clamp meter: A practical option for owners who also need general electrical measurements and want to compare larger DC loads without opening a battery cable. Klein confirms DC current measurement through the jaws. Its limitation here is small-current accuracy: check the selected range and error specification before trusting a tiny standby reading. Its DC microamp lead function is a different function, not a battery-bank current input. View the Klein CL390 on Amazon.
Victron Energy SmartShunt Bluetooth Battery Monitor 300A: Better suited to an owner wanting ongoing bank-current and consumption information through a phone rather than occasional spot checks. The linked model is the 300A version: size it for the installation’s continuous and peak current requirements. It needs correct wiring, configuration, and a suitable mounting environment; it will not identify individual branches by itself or fix a failing battery. View the Victron SmartShunt 300A on Amazon.
7. Verify the fix in the same parked configuration
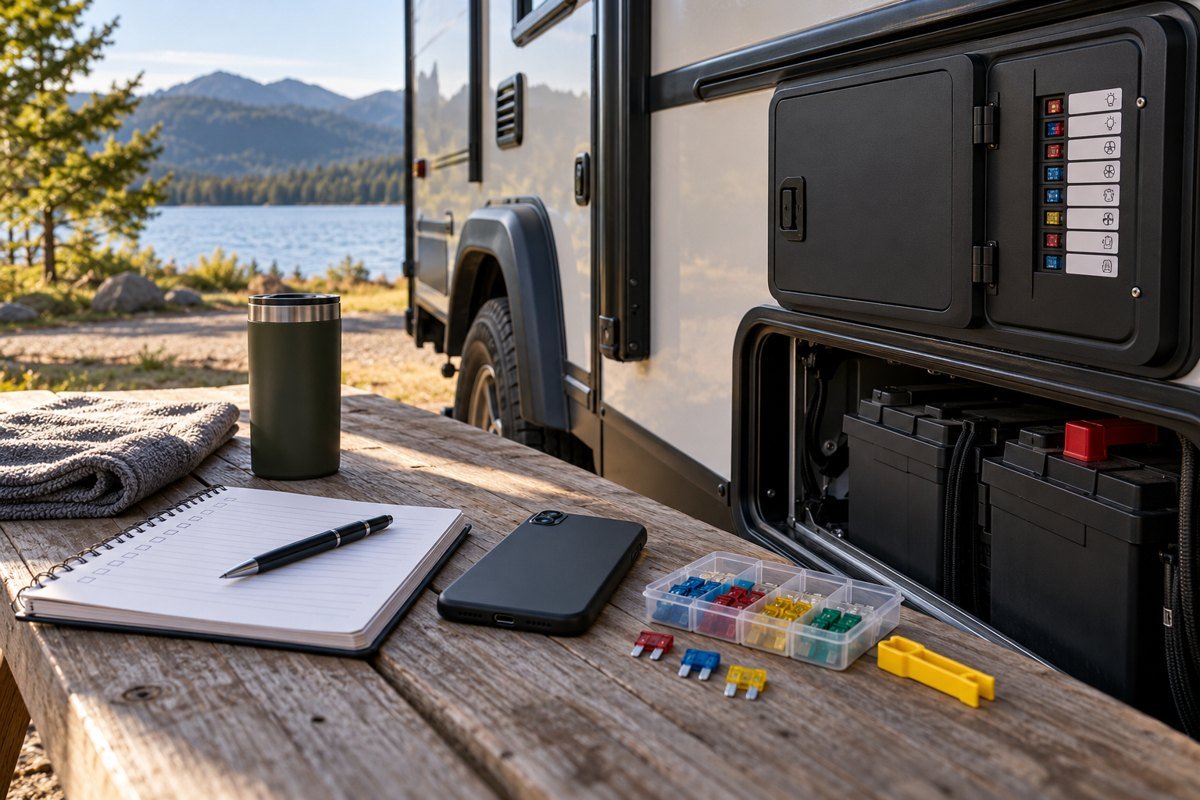
Repeat the original test after the repair or control change. Use the same bank, charging state, disconnect position, and settling conditions. Record the new baseline, intentional devices left powered, and elapsed time. A successful repair should reduce the unexplained consumption without removing a required function.
Keep a simple log: date, battery condition, charging sources, switch position, current, and next inspection date. Size that inspection interval from the measured drain and your available reserve. Do not assume a solar panel or maintainer makes an unmonitored storage arrangement reliable.
For the wider seasonal process, consult our RV electrical winterizing checklist, while following your battery manufacturer’s exact storage charge and temperature requirements. Once everything is restored for camping, run the pre-trip boondocking electrical checks before relying on the bank away from hookups.
The best next step is a recorded baseline, not a larger battery. Establish what your disconnect isolates, measure what remains, and confirm the responsible circuit. That gives you a repair you can verify and a storage plan based on your own rig’s numbers.
Frequently asked questions
Why does my RV battery drain when the disconnect is off?
Some disconnects isolate the interior fuse panel while separate battery feeds remain live. Check the model wiring diagram, then measure the remaining draw. Incomplete charging, a weak battery, or a failed disconnect relay can also explain the symptom.
How much parasitic draw is normal for an RV?
There is no universal house-bank limit. Establish which devices intentionally remain powered and compare measured current with their specifications. A steady 0.25 A uses 6 Ah per day, so even an expected load can matter during storage.
Can I measure battery drain with an AC clamp meter?
An AC-only current clamp cannot measure DC battery current through its jaws. Choose a DC-capable instrument with adequate low-current accuracy, or use a correctly installed shunt monitor. Clamp one conductor and account for parallel paths.
Will a battery disconnect stop solar charging?
Not necessarily. Solar controllers and converters may connect on the battery side of a disconnect. Follow the actual wiring diagram and the controller shutdown instructions; do not assume the interior switch isolates either charging source.
Can I remove the propane detector fuse to save battery power?
Do not disable required propane or carbon-monoxide detection in an occupied RV. Follow the RV manufacturer’s storage procedure and restore and verify safety equipment before occupancy. Keep the trailer breakaway system operational before towing.
Should I replace the battery or install a bigger one?
Measure the draw and verify charging first. A larger battery can hide an unexplained load without correcting it. If consumption is accounted for but runtime remains poor, have the battery tested using a method appropriate to its chemistry.