RV lithium battery cold weather charging problems often begin with a confusing scene: the lights work, the solar display is awake, but the battery will not charge. Before replacing a controller or converter, check whether the battery is too cold to accept current. A protective shutdown can be the system doing its job.
The useful question is not simply whether lithium works in winter. It is whether your specific battery is warm enough, whether every charging source respects its limits, and whether a heater leaves enough energy for the rest of the RV. This guide walks through seven checks for an installed LiFePO4 house bank, using manufacturer documentation rather than an assumed universal cutoff.
Quick answer: Read the battery’s temperature and BMS status, compare them with its manual, and check shore, solar, and alternator charging separately. Let an approved heating system warm the cells before charging resumes. Never bypass cold-charge protection or use a repair mode to force charging.
Table of Contents
RV lithium battery cold weather charging: why it stops
A working furnace does not prove that the battery can accept charging current. Discharge and charge are separate operating conditions, and a battery management system can permit one while blocking the other. In a cold campsite, that can look like a failed solar controller even when the protection is operating correctly.
Low-temperature charging can damage lithium cells, including through lithium plating. The practical response is to respect the battery’s documented charging window. Do not lower a protective threshold because another battery brand permits a different temperature, and do not assume that a smaller charging current makes an otherwise prohibited temperature acceptable.
The exact limits matter. Victron’s Lithium NG operating instructions allow charging from 41°F to 122°F (5°C to 50°C), with additional current restrictions under some conditions. Battle Born’s temperature guidance describes an approximately 25°F charging cutoff for its batteries. Those examples demonstrate why a universal 32°F rule cannot replace your model’s manual.
Cold also affects available capacity and runtime. That is a separate issue from a charging lockout. A pack may have enough remaining energy for light loads while accepting no replacement energy, so the overnight reserve can disappear even though the daytime charging equipment looks active.
Watch: Battle Born’s educational video on LiFePO4 temperature limits explains the cold-weather charging issue. Its battery-specific guidance does not replace the limits in your own battery manual.
1. Read the battery temperature and protection status
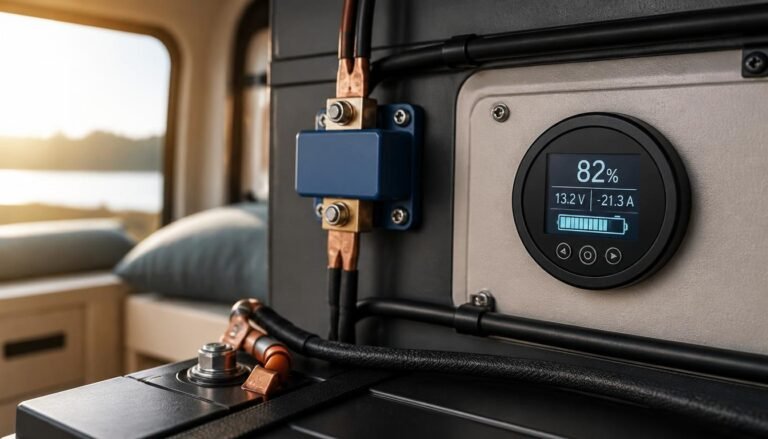
Start with the battery, not the solar panel rating. Open the manufacturer’s monitoring app, if available, and record the battery temperature, state of charge, charge-enabled status, discharge-enabled status, and active alarms. Photograph or write down the readings before changing settings. A temperature alarm is much more useful than a vague report that charging stopped.
Use the battery’s own temperature measurement when the manufacturer makes it available. An outdoor weather reading, a warm dashboard, and a thermometer beside the battery describe different locations. A compartment can warm before the cells do, especially after an overnight cold soak. A surface thermometer is supporting information rather than proof that the cell core is ready.
Next, retrieve the exact manual for the battery model and revision. Identify its minimum charging temperature, restart temperature, permitted charging current, heater requirements, and recovery procedure. A built-in BMS does not automatically establish that the pack includes low-temperature charge protection; verify that specific feature.
If the battery reports swelling, damage, unusual heat, or an unexplained persistent fault, stop troubleshooting through repeated charging attempts. Contact the manufacturer or an RV electrical technician. Temperature protection is a reason to investigate, not a reason to defeat the safety controls.
2. Separate charger output from net battery current
A charger display and a battery monitor answer different questions. The charger may report energy delivered to the DC system while the battery receives little or none. The refrigerator, furnace blower, lights, and battery heater can consume that output before it becomes stored energy.
For an illustrative current balance, suppose a charger supplies 18 amps while the house loads draw 11 amps and a battery-powered heater draws 5 amps. Only about 2 amps remain for charging, before other effects. These are example values, not measured performance or a prediction for a particular product. Over three hours, a steady 2-amp net input would replace roughly 6 amp-hours.
Check where the shunt sits and which paths it measures. A heater inside a battery can be accounted for differently from an external heater wired through the system shunt. Use the product documentation to interpret the displays rather than expecting every screen to match.
If you need to understand what a shunt can measure, our Victron versus Renogy battery monitor comparison explains the monitoring choices. For this diagnosis, the useful observations are current direction, changes when loads switch off, and whether state of charge actually rises over time.
3. Check shore power, solar, and alternator charging separately
Make a simple source list before buying replacement equipment. Most upgraded RVs have more than one charging path. A converter or inverter-charger uses shore power, an MPPT controller uses solar, and a DC-to-DC charger may use alternator power. Each needs a documented relationship with the battery’s temperature protection.
Inspect one source at a time using its normal controls and the equipment manuals. Avoid pulling live connectors or disconnecting the battery while charging equipment remains energized. Solar controllers can require a specific isolation and reconnection sequence; preserve that sequence rather than experimenting.
On shore power, check whether the converter is enabled, whether AC power is available, and whether the charge profile matches the battery specification. If the battery reports a temperature lockout, increasing charge voltage or selecting a lead-acid repair mode is not a remedy.
For alternator charging, confirm that the DC-to-DC charger recognizes engine operation and that its charge-permission or temperature controls are configured correctly. Our DC-to-DC charger versus battery isolator guide covers the architecture. A charger’s lithium profile and its cold-charge protection are separate features to verify.
For solar, distinguish low sunlight from a charging prohibition. Record controller status, available PV input, and any battery or temperature messages. If all sources stop while the battery reports a cold alarm, investigate the shared battery condition before assuming three independent failures.
4. Verify that solar cutoff uses battery temperature
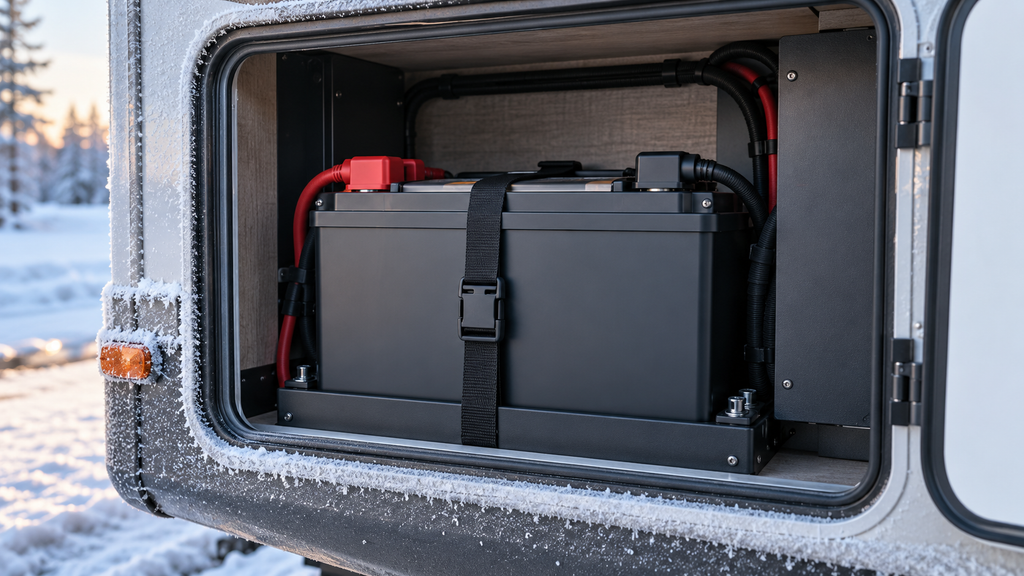
A low-temperature menu setting is useful only when the controller has the temperature information required to operate it. The controller’s own enclosure temperature may differ from the battery temperature, particularly when one sits inside the living area and the other sits in an exterior compartment.
For example, Victron’s SmartSolar MPPT 150/35 and 150/45 documentation says its low-temperature cutoff works when the charger receives battery temperature through VE.Smart Networking from a compatible sensor or monitor. The documentation also identifies a default disabled state. Verify the exact controller model, connection status, and setting instead of extrapolating across the product range.
Ask four questions: Which device measures the battery temperature? Is that reading reaching the controller? What threshold is configured? What protects the battery if that communication fails? A technician can confirm the intended behavior without exposing the pack to an unsafe charging test.
Do not deliberately chill a battery and force current into it to test the BMS. Review the documented behavior, inspect the reported status, and use manufacturer-supported diagnostics. The goal is confidence that charging stops when required, not a demonstration that the protection can be overcome.
5. Find out how the battery heater is powered
“Self-heating” describes a feature, not one universal electrical design. Some systems use battery energy; others require charging input before heating can begin. Minimum input requirements, activation controls, restart temperatures, and low-state-of-charge behavior vary by model.
The Battle Born 100Ah heated battery kit, for instance, describes a self-powered internal heating system. That does not establish the behavior of a different heated battery. Read the manual for the unit actually installed, including any heater enable switch or accessory connection.
This distinction matters during a weak winter sunrise. A charge-powered heater may need adequate input before the cells can warm, while a battery-powered heater spends part of the stored reserve. In either case, seeing an active heater does not mean that substantial net charging has already started.
Allow the approved heating system to complete its sequence and watch the battery’s reported temperature and charge permission. Do not apply a heat gun, open flame, boiling water, or an improvised heater. If an external heating pad is contemplated, obtain battery-manufacturer approval for the pad, thermostat, mounting, and clearances.
Insulation can reduce heat loss, but it does not create heat. A cold battery placed inside an insulated box remains cold until energy warms it. Avoid covering components or blocking ventilation unless the installation instructions explicitly permit the arrangement.
6. Budget winter energy before adding equipment
The heater belongs in the same energy budget as the furnace and refrigerator. Use watts multiplied by operating hours to estimate watt-hours, then compare that with the usable battery energy and the charging you can realistically replace during the day.
Consider a hypothetical 40-watt heater operating for six hours: it uses 240 watt-hours. At a nominal 12.8 volts, that is about 18.8 amp-hours. A 100Ah, 12.8V pack contains 1,280 nominal watt-hours, so the example heater consumes nearly 19 percent of that nominal energy before any house loads. Actual usable energy, heater duty cycle, temperature, and system losses will change the result.
This calculation is a planning example, not a specification for any battery discussed here. Measure your installation or use the manufacturer’s stated heater consumption. If several batteries have independent heaters, account for the complete bank rather than budgeting for one pack.
Do the same exercise for charging. A solar panel’s nameplate wattage does not guarantee that output throughout a short winter day. Shade, snow, orientation, weather, and the time spent warming the battery all influence the replacement energy.
Before a remote trip, use our boondocking electrical checklist to organize a practical system check. Add a cold-weather log showing starting charge, battery temperature, heater operation, overnight consumption, and daytime recovery. A repeatable shortfall calls for a revised energy plan before a bigger battery purchase.
7. Confirm recovery and decide when to get help
Once the battery reaches its permitted charging range, confirm recovery rather than assuming warmth solved everything. Observe whether the cold alarm clears according to the manual, whether charging becomes permitted, and whether net battery current turns positive with manageable loads. Some systems have a separate restart threshold or prescribed recovery sequence.
Recheck each charging source through its normal operating mode. Log the result so a future fault can be compared with a known working state. A useful record says “battery temperature in range, charging enabled, shore charger active, net input positive,” rather than simply “charger working.”
If the battery is warm but still refuses a charge, stop attributing everything to winter. Other possibilities include a nearly full bank, a disabled charger, a fuse or connection fault, a low-voltage protection state, or an incompatible setting. Follow the relevant troubleshooting manual; have energized electrical measurements and wiring repairs handled by someone qualified.
For a parallel bank, inspect the status of individual batteries if the system supports it. One warmer pack can behave differently from another. Do not assume that remaining connected batteries can safely accept the full combined charger output if another pack stops accepting current. Have the bank’s current limits and protection coordination checked.
Keep the problem report concise when asking for help: exact battery and charger models, ambient and reported battery temperatures, active fault codes, charge settings, heater state, and which sources work. That evidence is more useful than replacing a converter because its fan stopped running.
Choose a cold-weather upgrade around the actual fault
Buy the missing function. If temperature protection is undocumented, prioritize a verified protection strategy. If the battery is protected but cannot warm in its compartment, investigate an approved heater or a suitable installation location. If the heater consumes more than the charging replaces, address the energy deficit.
A heated replacement battery should be evaluated for fit, mounting, discharge rating, total charge-current allowance, heater power source, monitoring, warranty terms, and compatibility with the existing chargers. An expensive battery can still disappoint if the installation ignores those constraints.
A temperature sensor can improve charger control only when the specific charger supports the required signal. A shunt improves visibility but does not itself guarantee low-temperature charge blocking. Treat monitoring, protection, heating, and charging capacity as four different capabilities.
Useful monitoring products: As an Amazon Associate we earn from qualifying purchases through the links below.
Victron SmartShunt 500A — view on Amazon: useful for tracking net battery current and state of charge through the VictronConnect app. Choose a rating suitable for your installation; monitoring alone does not block unsafe charging.
Victron Smart Battery Sense — view on Amazon: provides battery voltage and temperature readings to compatible Victron MPPT chargers through VE.Smart Networking. Check compatibility and existing sensors before buying; the charger’s cutoff still needs correct configuration.
This guide concerns active cold-weather charging. For a parked, unoccupied RV, use a separate storage plan based on your battery manufacturer’s instructions; our RV electrical winterizing guide provides the broader seasonal checklist. Do not disable safety detectors or towing breakaway equipment as a charging workaround.
Before your next cold departure, write down three items: the battery’s approved charging window, how every source respects it, and where the energy for warming comes from. Those answers turn a mysterious zero-amp display into a manageable decision about temperature, available power, or an electrical fault.
Frequently asked questions
Can I use my RV lithium battery below freezing?
Often yes, within its specified discharge limits. Charging has a separate temperature window. Check your exact battery manual rather than applying one brand’s limits to every LiFePO4 pack.
Why does solar stop charging after a freezing night?
The battery BMS or controller may be blocking charging because the battery is cold. Check temperature and fault messages first. Weak sunlight, shading, and wiring faults can also reduce output.
Does a lithium charging profile include cold protection?
Do not assume so. A charging profile controls parameters such as voltage and timing. Verify low-temperature protection separately, including the required temperature sensor and how each charging source is controlled.
Will a heated battery start charging immediately?
Not necessarily. It may need time and sufficient power to warm its cells. Heater power sources and operating requirements vary, so use the exact product manual and monitor charge permission.
Can I reset the BMS to make a cold battery charge?
Do not reset or bypass protection to override an unsafe temperature. Warm the battery through an approved method and follow the manufacturer’s recovery procedure. Persistent faults require diagnosis.
Should I leave my lithium RV battery charging all winter?
That depends on the battery, installation, storage conditions, and manufacturer instructions. Active camping and unoccupied storage need different plans. Confirm temperature protection and maintenance requirements before leaving charging unattended.