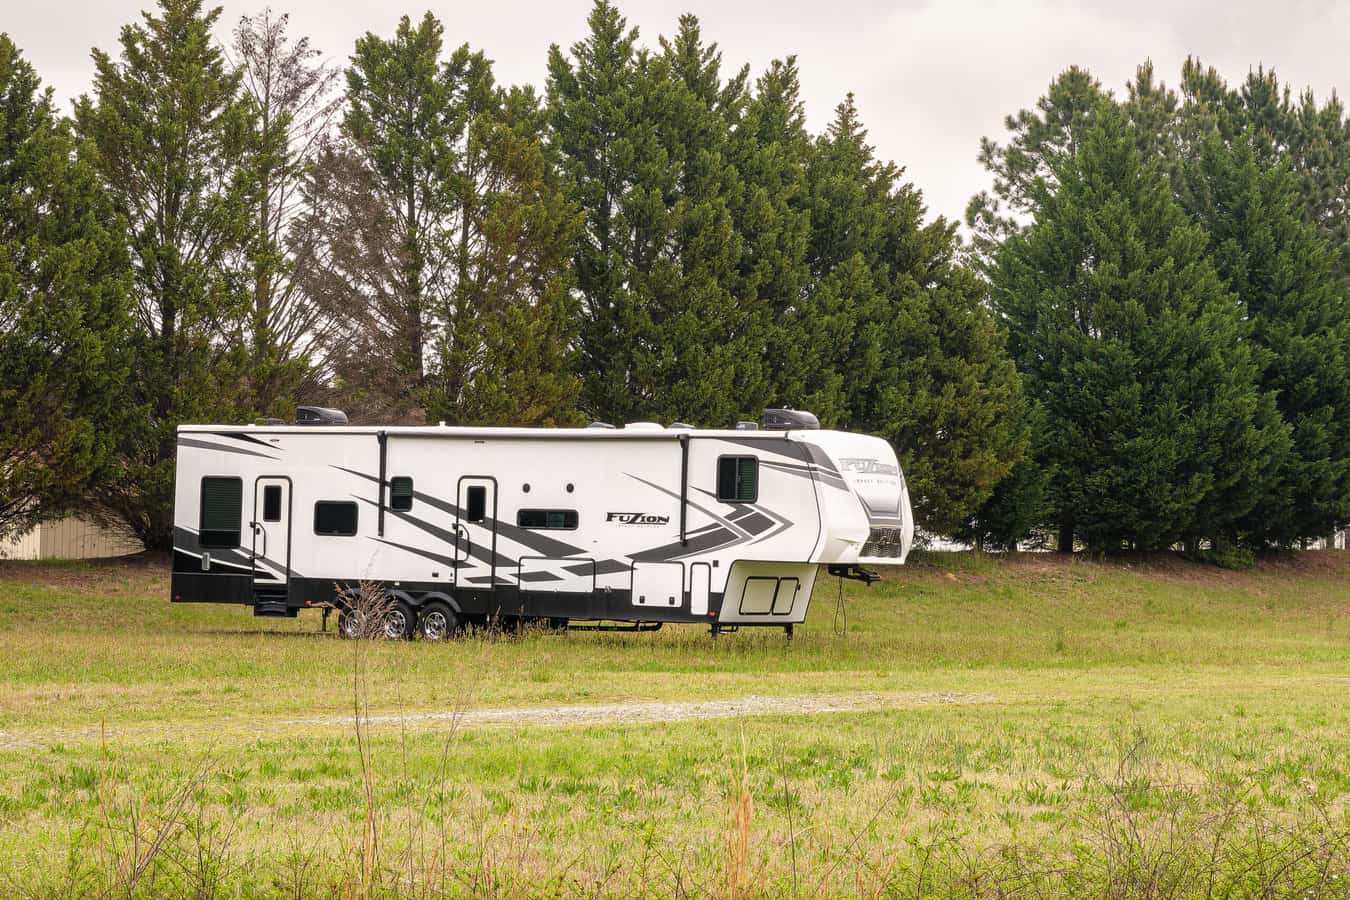
What To Include In Your Pre-Trip Inspection
One of the best parts of having an RV is that it gives you the freedom to hit the road at the drop of a hat. However, extraordinary freedom has a price. That price is doing all the maintenance your RV manufacturer recommends and doing a thorough pre-trip inspection.
As a matter of fact, failing to do either of these essential RV chores could give you a very bad day instead of an epic road trip. By bad day, I mean expensive repairs and/or injuries and even death. Trust me, ignoring either RV maintenance tasks or your pre-trip inspection is just not worth it.
Here’s what you need to check every time you take your RV on the road. Remember, your loaded RV weighs a lot more than your usual runabout. This can sometimes mean parts can loosen. There is definitely more wear and tear on both the chassis components and the coach of the RV too. To avoid problems on the road, you’ll want to make sure everything is in tip-top condition before starting out on any trip.
Inspecting your RV before you go takes just a few minutes and can help you and others stay safe when you’re on the road.
1. Electrical system
- House batteries:
- Note the date of installation
- Load test as necessary
- Check fluid levels in flooded cell lead acid batteries
- Clean terminals as necessary
- Check voltage levels and charge to over 12 Volts as necessary
- Lighting
- Replace burned-out light bulbs
- Test RV system controls for power awnings, steps, auto leveling
- Ensure that all electrical outlets within the RV are functioning correctly. You could test them with a small appliance.
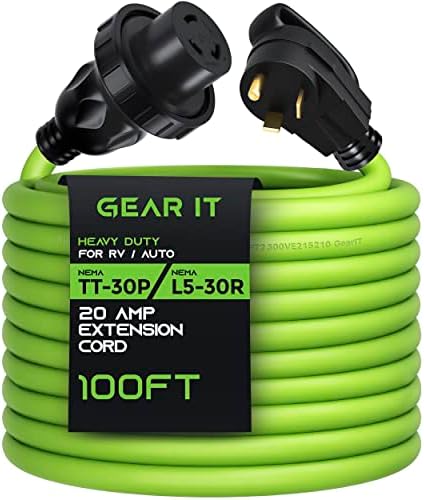
- Power cords
- Be sure you pack them!
- Check and note their condition
- Check that the RV air conditioning/heating system works
- Refrigerator
- Get the fridge running for at least eight hours before you put food into it
2. Propane system
Propane is as volatile as it is useful. When we travel in our RVs, propane system components can get shaken loose by all the lumps and bumps on the road. This happens even if you only travel on highways in your RV.
With that in mind, it’s always good practice to check propane system components frequently. This means not only as part of your pre-trip inspection but after you arrive at your destination too.
- Sniff test for leaks
- If you suspect a leak: Perform a bubble test by spraying soapy water on connections.
- Tighten any loose connections
- Secure propane bottles
- Turn propane valves off before travel
- Get your propane tanks regularly inspected by a professional
3. Plumbing system
- Check for leaks
- Faucets off
- Exterior shower off and packed away
- Water pump off
- Be sure to empty waste tanks
- Fill freshwater tank
- Inspect the water heater
4. Slideouts, awnings, etc.
- Move slide-outs in
- Bring awnings in
- Stabilizers up
- Stairs in
5. Secure all doors and drawers
- Close cabinet doors
- Close doors
- Close drawers
- Secure and lock the exterior storage compartment doors
- Secure any loose items in the RV that could move while driving
6. Emergency kit
Be sure you have all the tools you need to handle a roadside emergency such as a tire blowout or dead battery, as well as a fully stocked first aid kit. Even if you have a great roadside assistance plan, carrying the tools to handle any roadside emergency will help you get back on the road quickly and safely.
7. Insurance and registration
Be sure your RV insurance is up to date and that you have all the documents in the RV. It’s also helpful to have a contact list of important numbers such as roadside assistance, insurance company, etc.
8. Wheels and tires
Your entire RV rides on your wheels and tires. It’s essential to check them carefully in your pre-trip inspection.
- Retorque wheels to RV manufacturer specifications
- Check the condition of RV tires
- Check the date stamp on RV tires
- Check tire pressure
- Check for signs of damage, such as cracks or bulges
9. Brakes
- Check brake fluid and top up if necessary
- Test brakes and note anything unusual
- Inspect brake pads or shoes for wear
- Get a mechanic to fix any issues before you leave
10. Fluid levels
Always check all fluid levels in your pre-trip inspection. Also, take note of transmission fluid and brake fluid color. Top up as necessary.
- Brake fluid
- Coolant
- Transmission
- Oil
- Power steering
- Windshield wiper fluid
- Power steering fluid
- Washer fluid
- Hydraulic fluid for leveling jacks and slide-out systems
11. Lights
- Check headlights, running lights, brake lights, and signal lights (including hazard lights)
- Replace any lights that are burned out
12 Safety equipment
- Check smoke detector, propane detector, carbon monoxide detector
- Replace batteries as necessary
- Check fire extinguishers. The best practice is to have one functional fire extinguisher in each area of the RV so it’s easy to access.
13. Tow hitch
- Check hitch points
- Check the wiring harness connections to ensure toad or trailer lights and brakes function properly
- Check the condition and security of the hitch ball or kingpin and the brake controller (if applicable)
Track your RV maintenance
Make sure you keep track of all your RV maintenance and repairs with an online tool such as RV LIFE Maintenance. Not only can you keep all of your documents in one place, but you’ll also receive timely reminders when maintenance is due to help you avoid costly repairs and potentially serious accidents.
The post Pre-Trip Inspection: Essential Safety Checks You Should Do appeared first on Camper Report.


